

Custom Power Bank |8| Advanced Power Bank (APB) Assembly
Intro
This series of notes describes developing process of custom power bank.
Purpose: assemble power bank.
1 Battery Holder Soldering
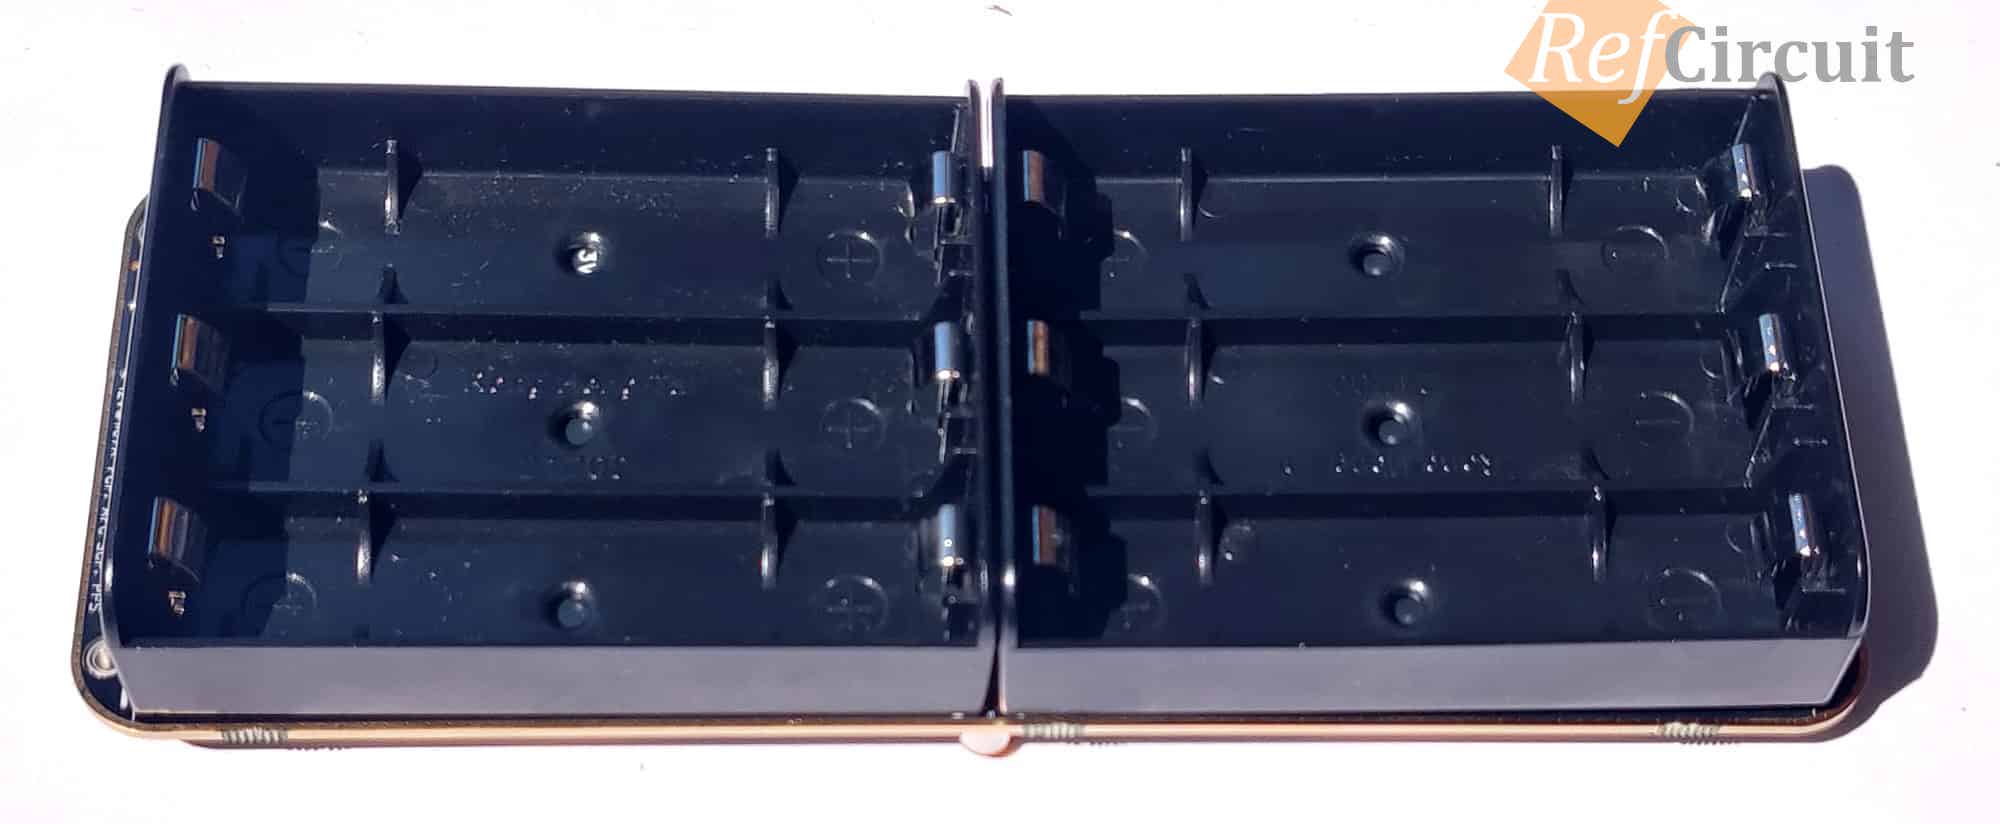
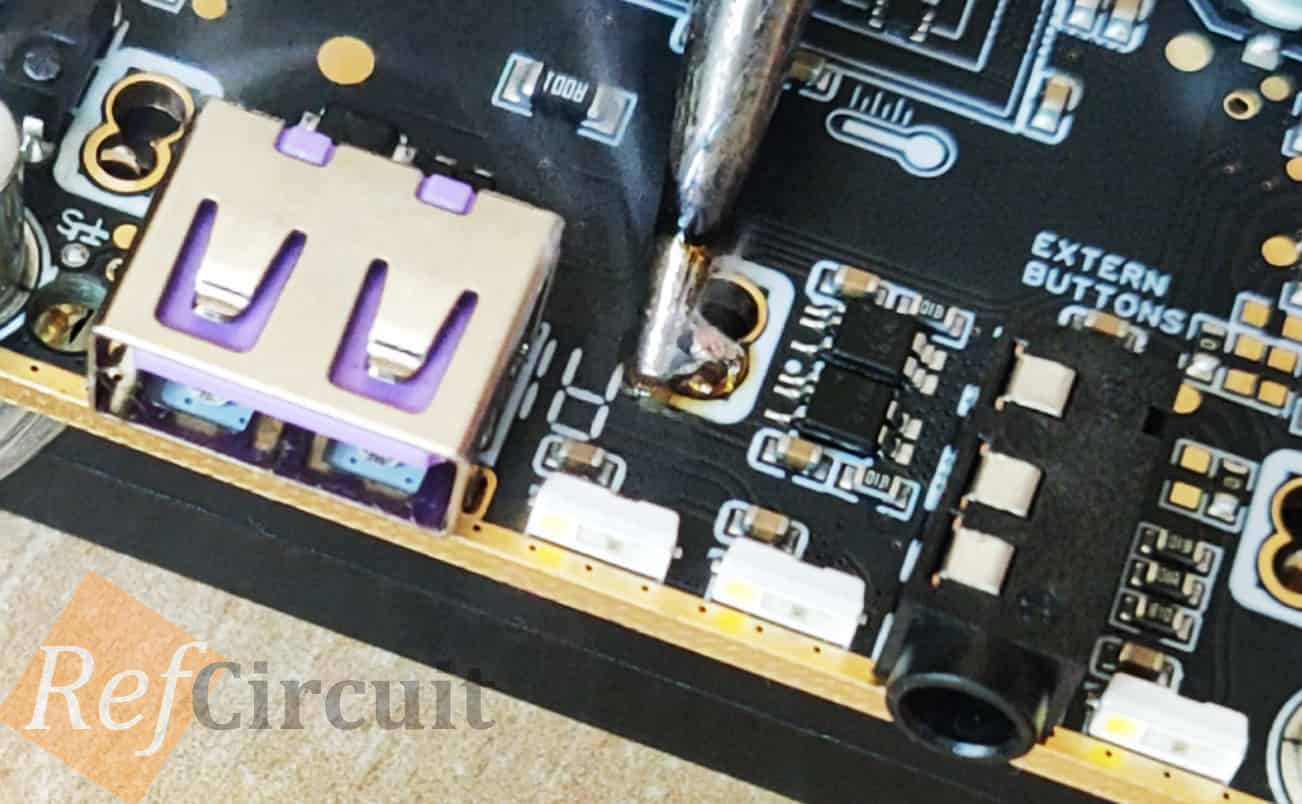
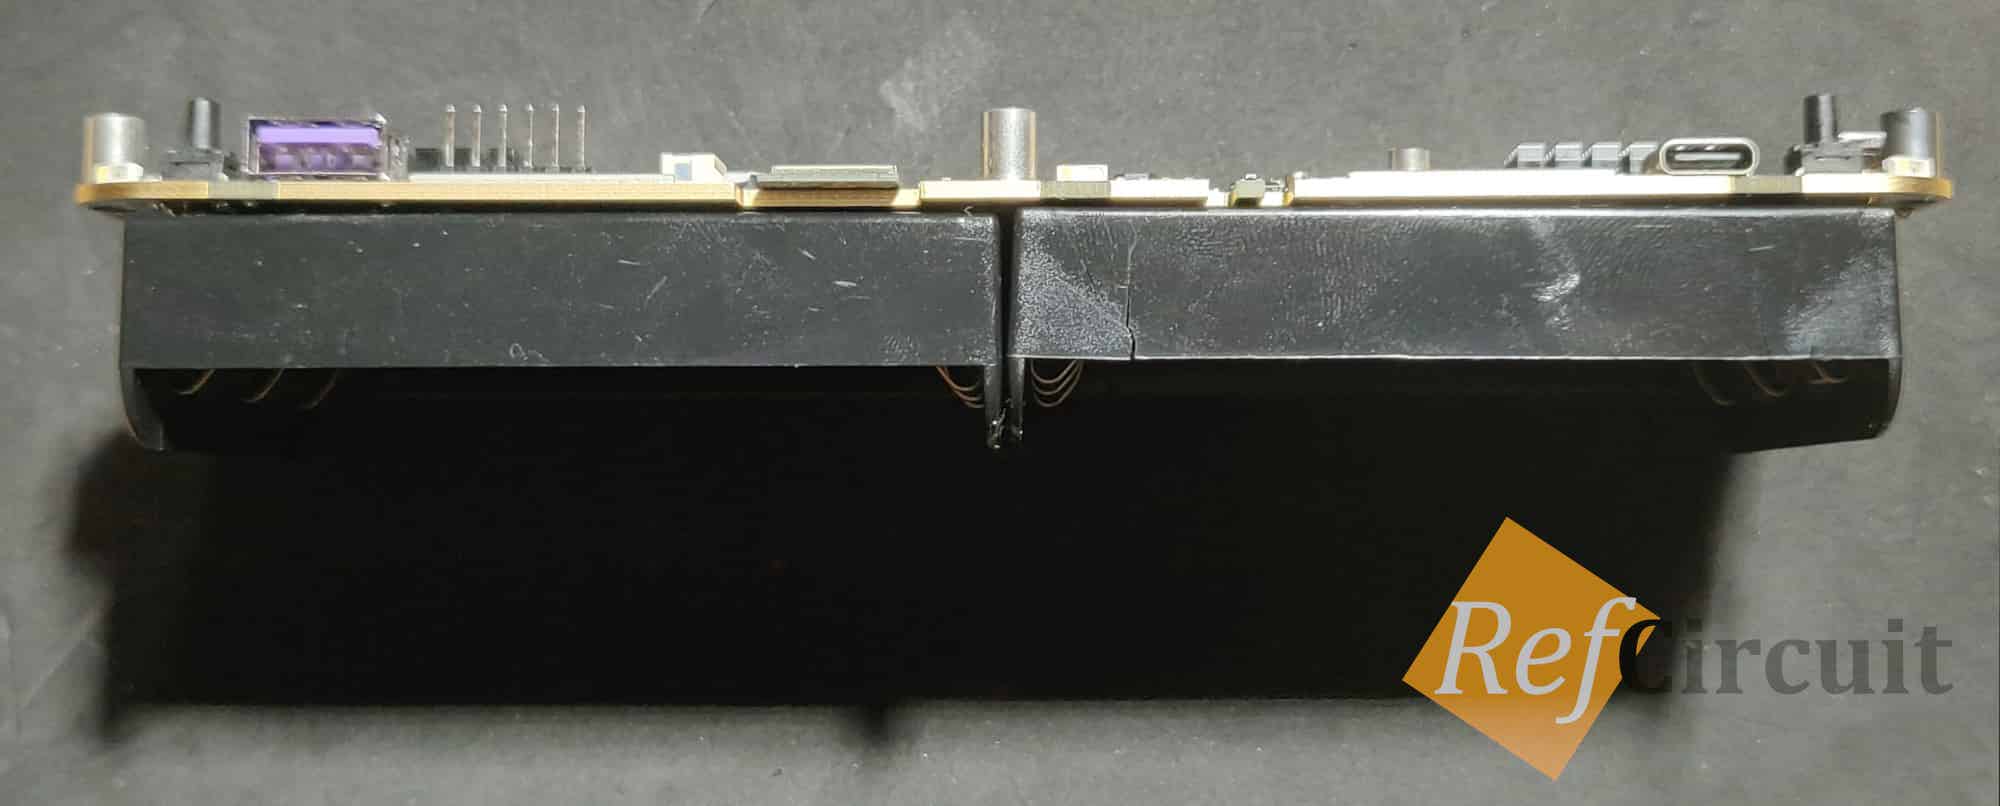
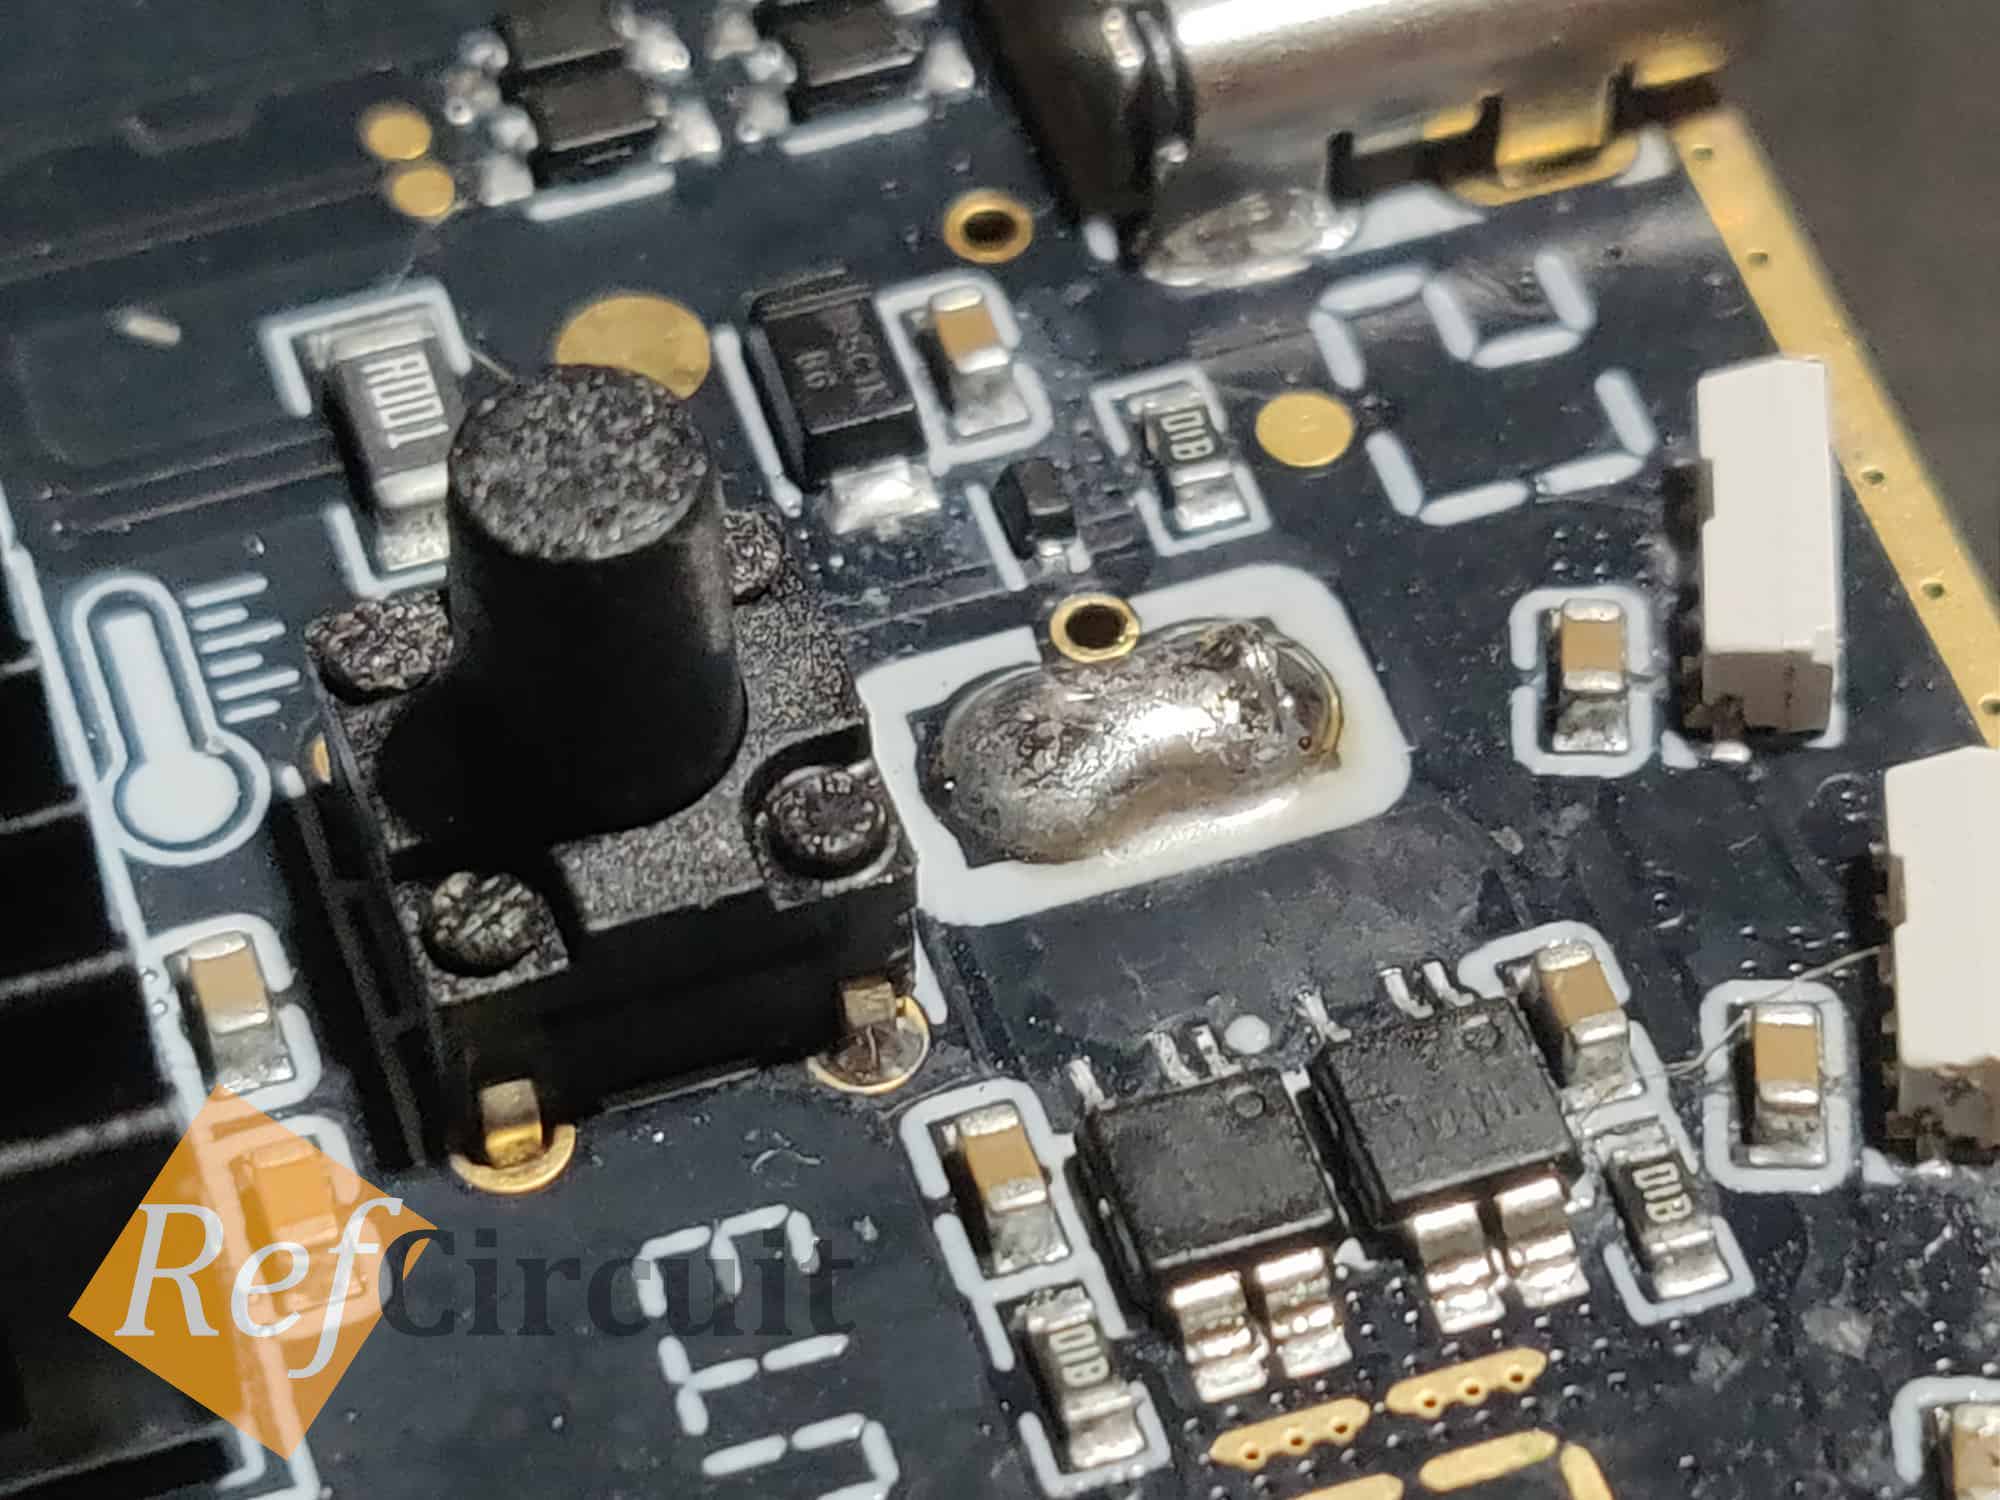
First of all, since to all components are soldered I manually soldered two 3x 21700 holders on the bottom side, but since THT components has ~1mm pins I have to use any 1mm spacer (it could be removed after soldering)
 |  |
 |  |
2 Speaker
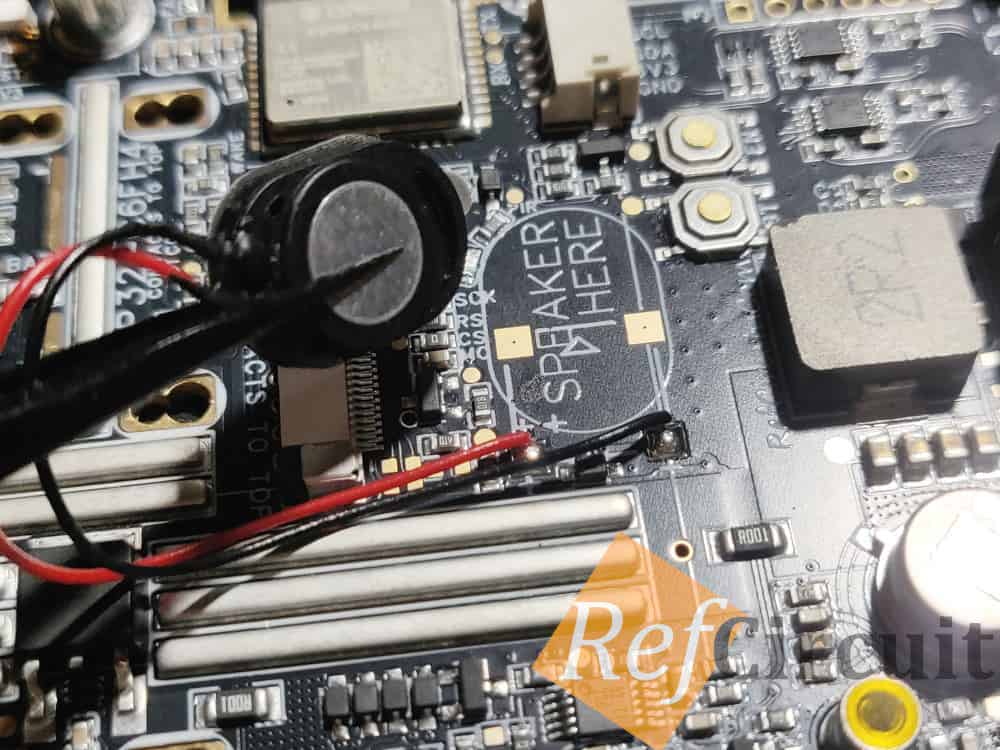
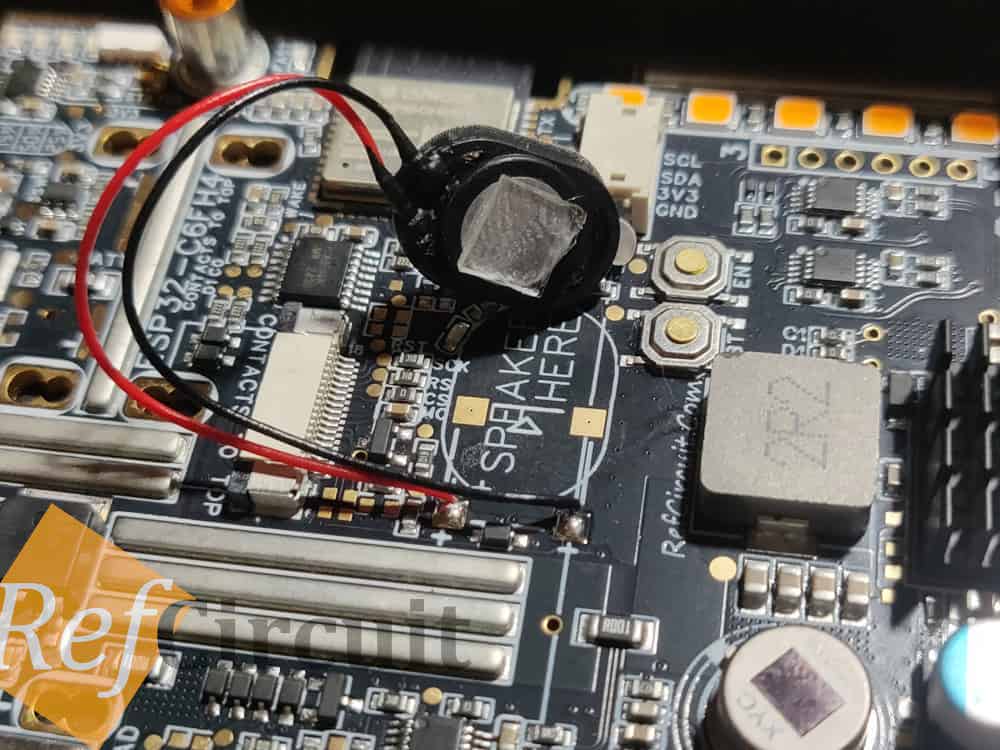
I used 3M glue to attach speaker to the board:
 |  |
3 Nuts Insertion
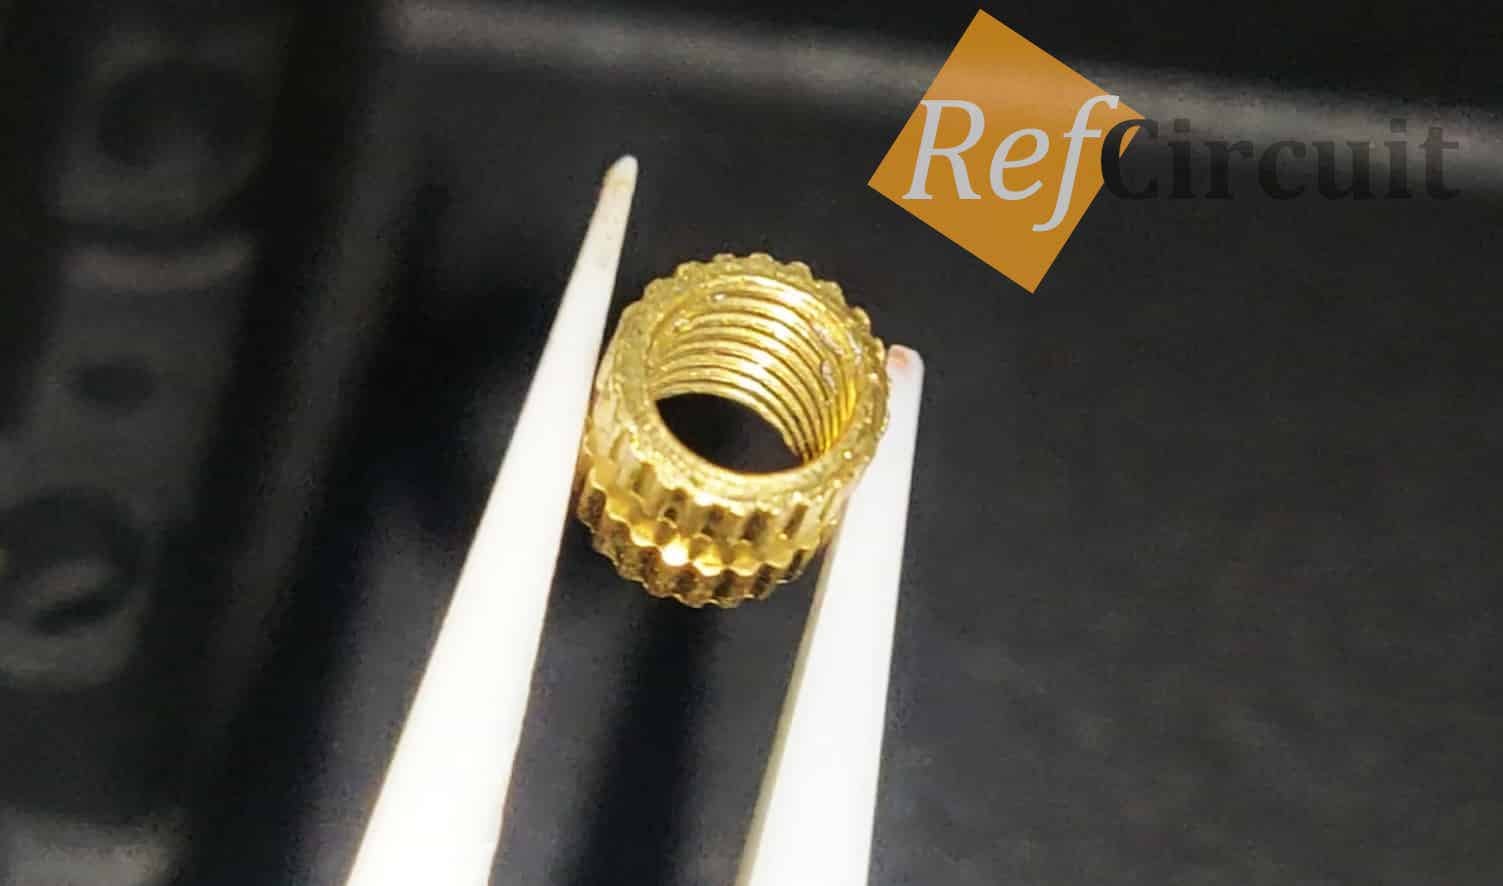
Since I wasn't able to add also M5 nuts into 3DM order I have to buy it separately and insert them manually using soldering iron.
Tip: don't try to rotate nut, just slightly and slowly push by hot soldering iron tip.
- Part number: EMLU-M5-L6
 | 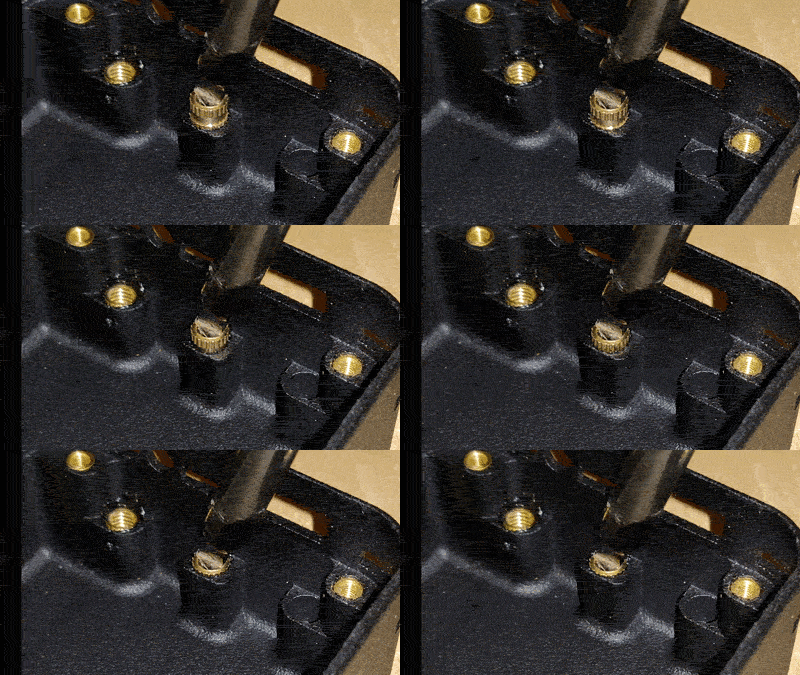 |
Residuals I removed using drill and soldering iron.
4 Display Bracket + EVA
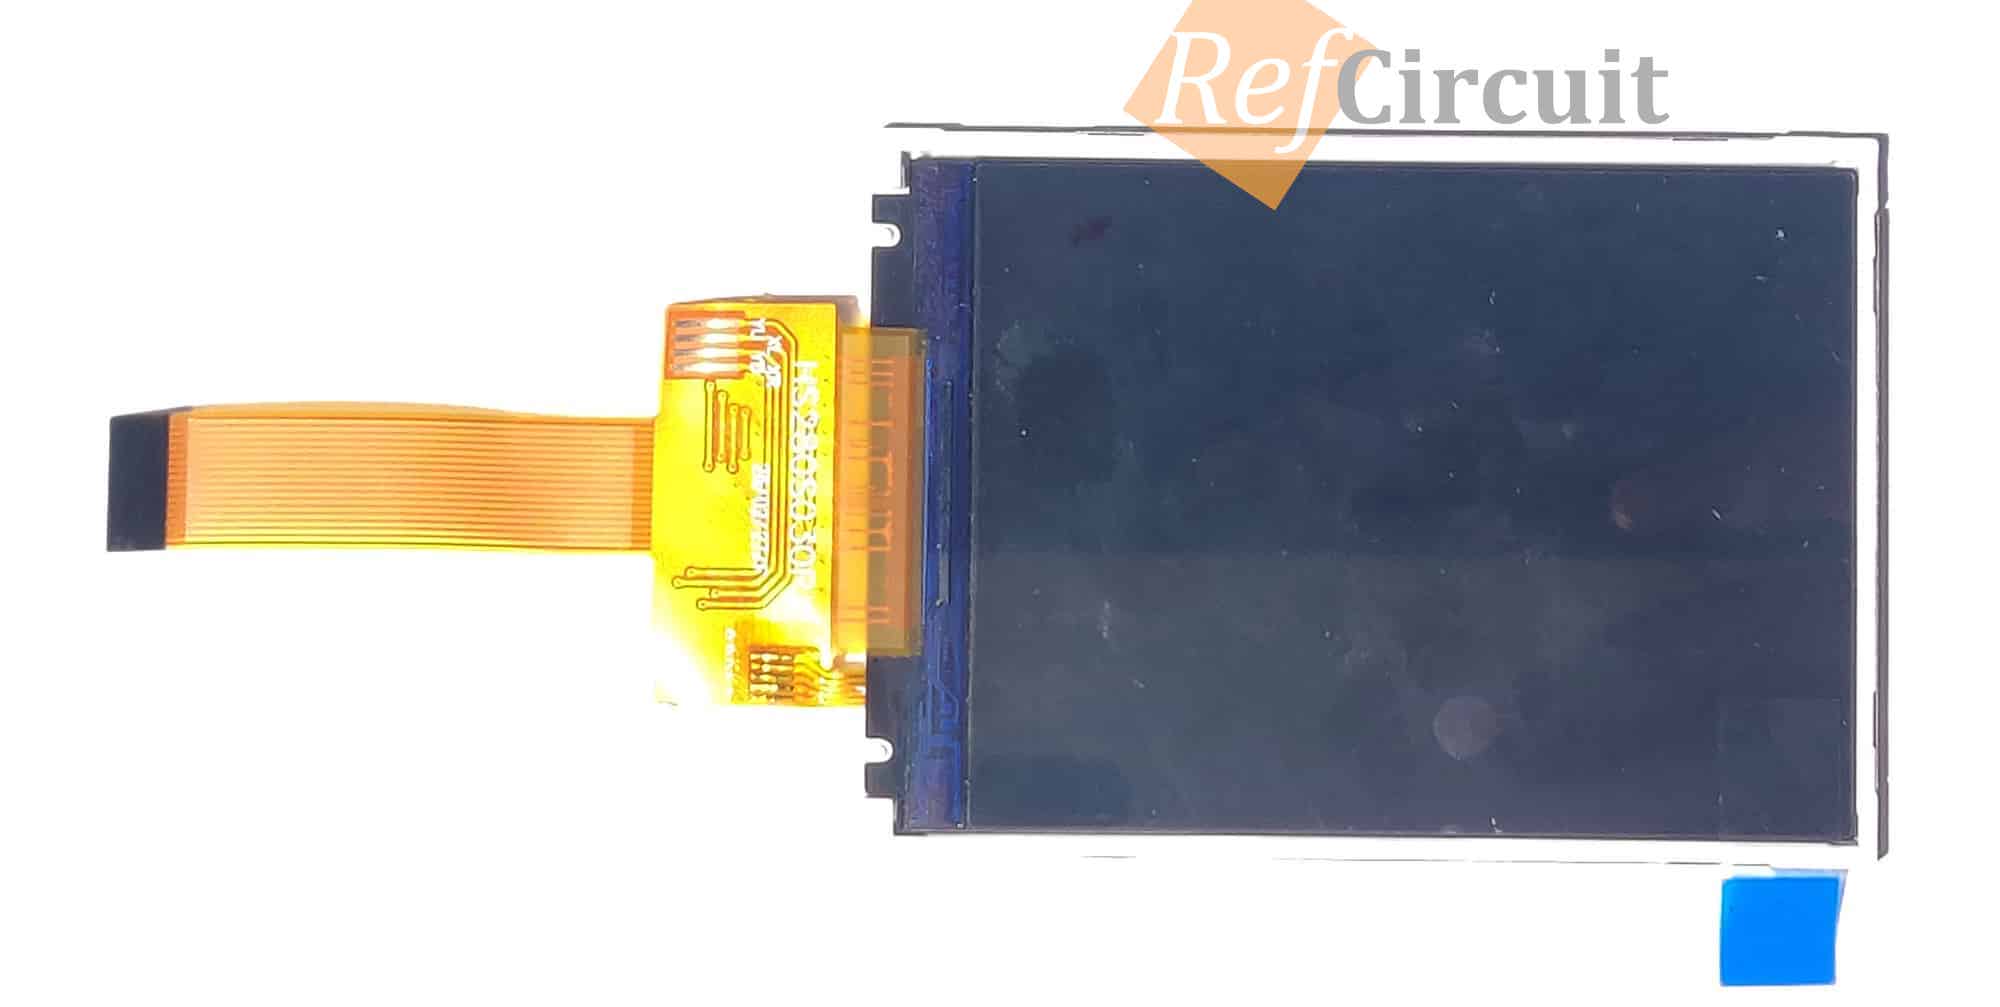
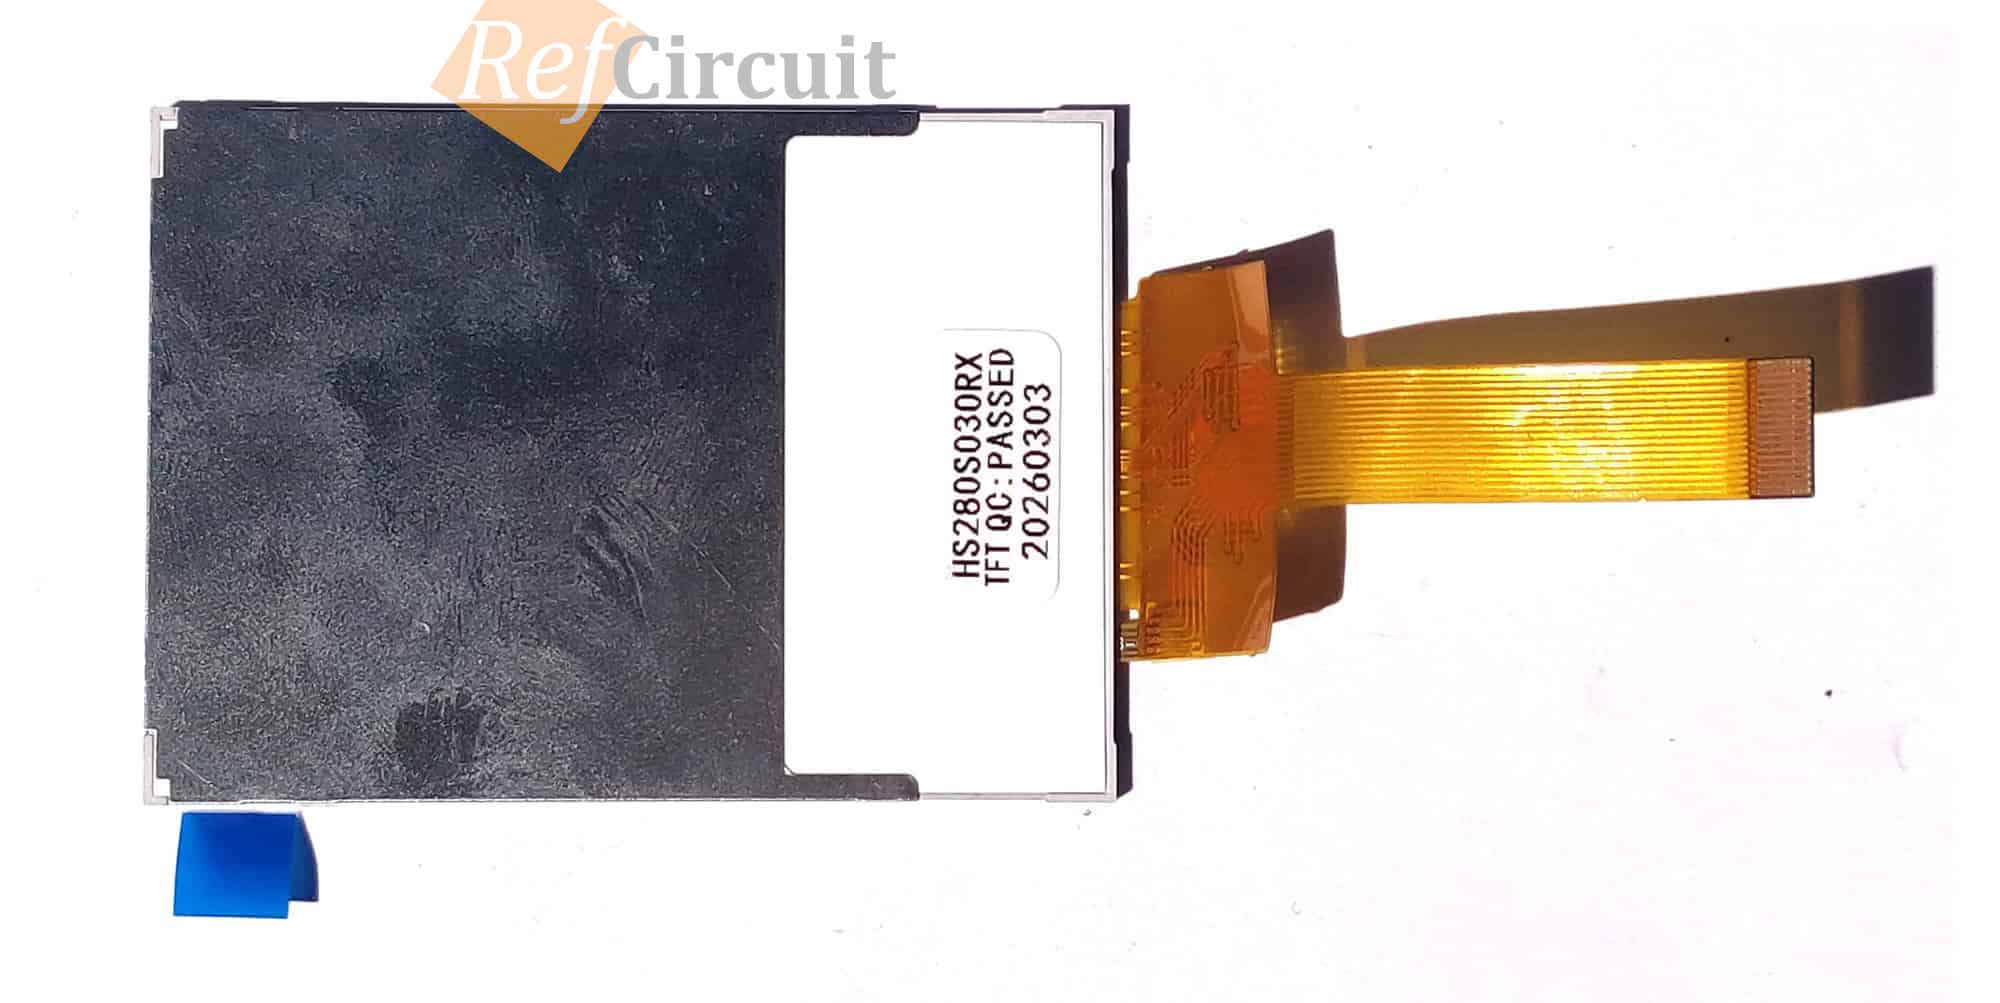
The display has metal shielding on the bottom side, which can easily short something on the board:
 |  |
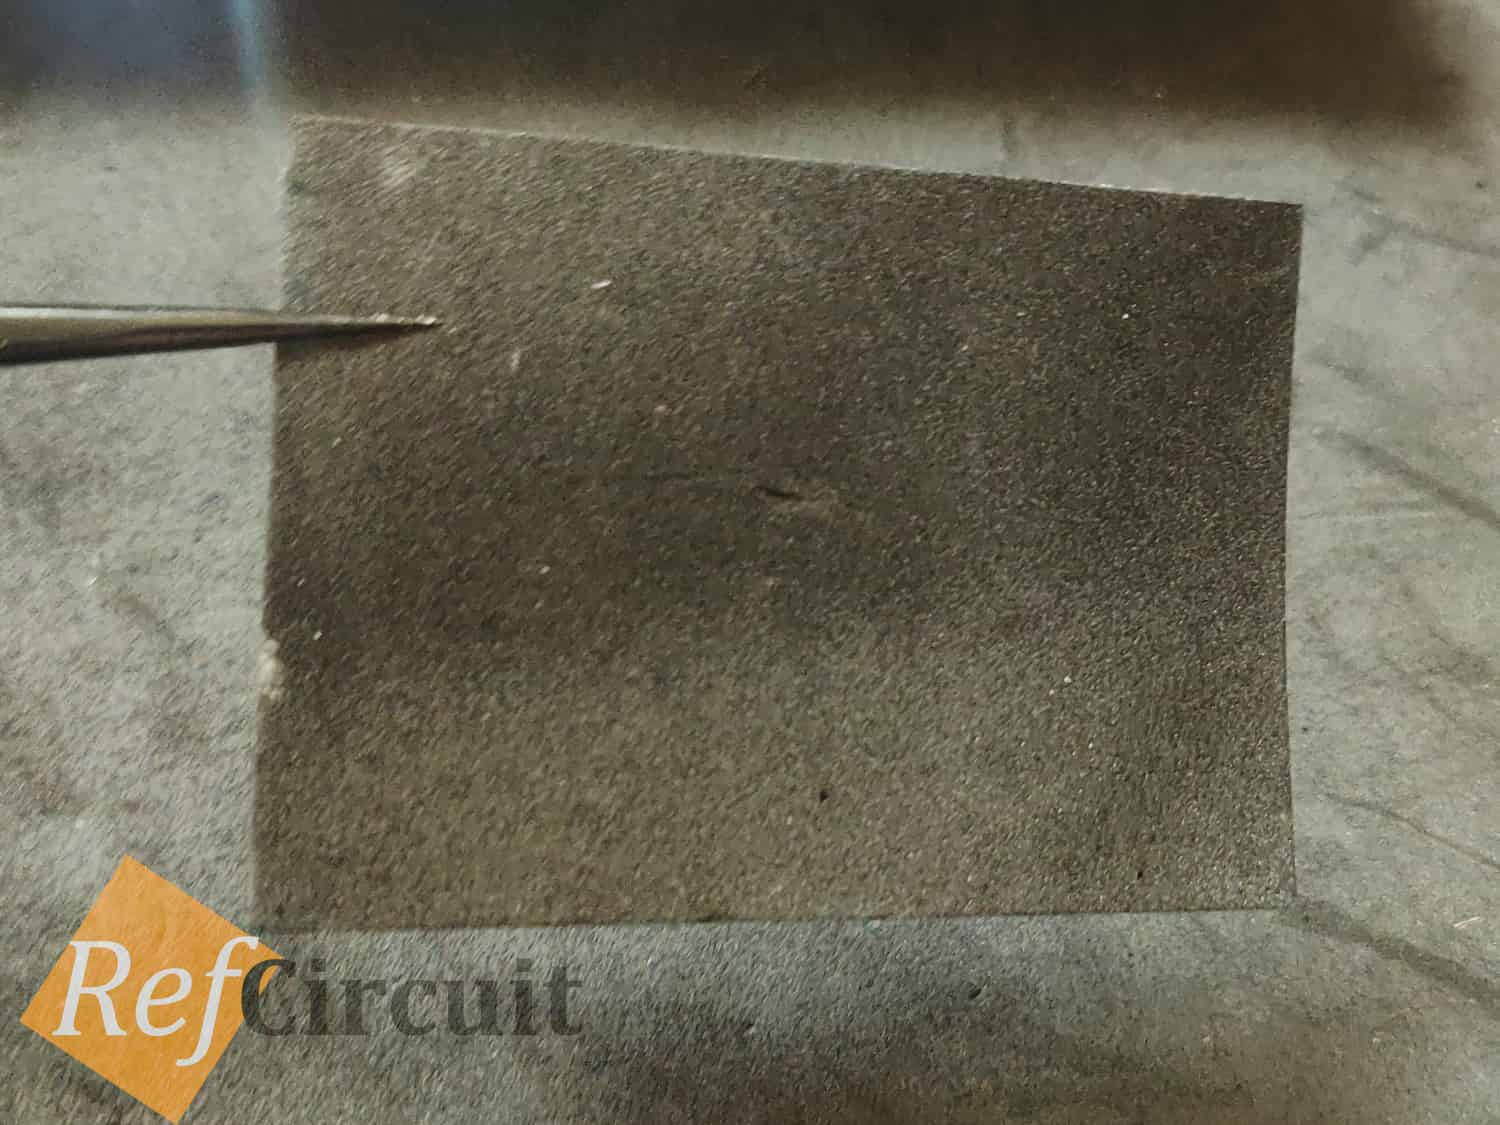
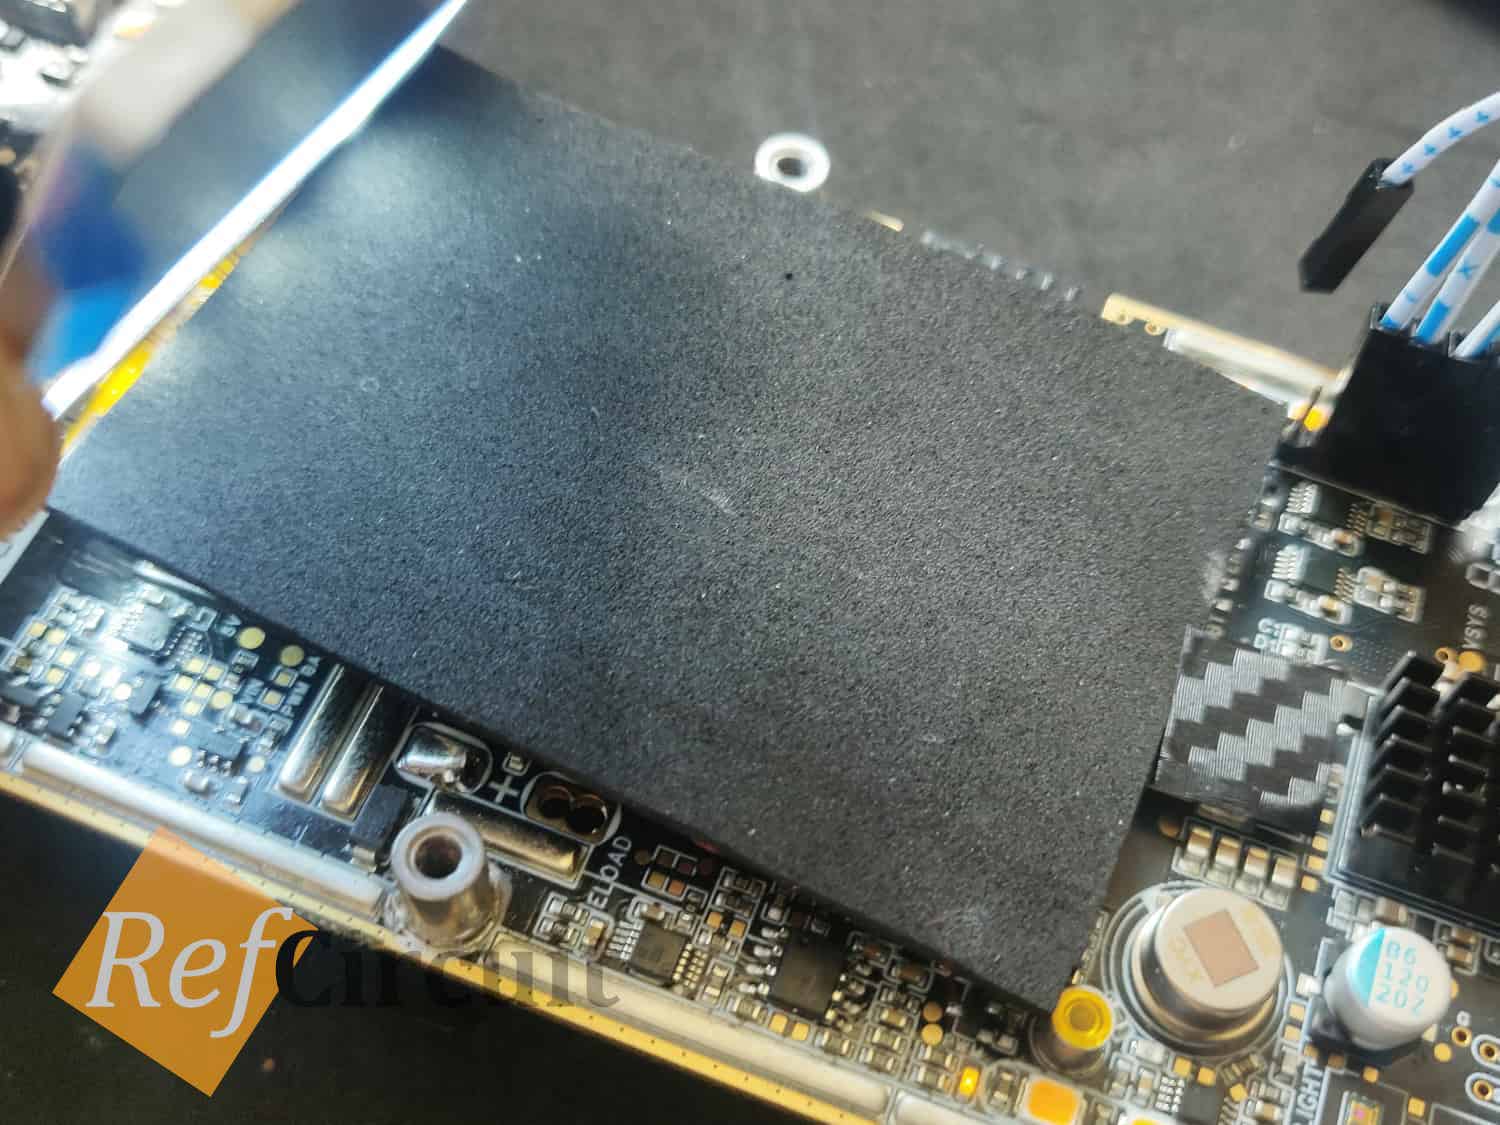
To fix this I cut EVA 1mm gasket to use it as isolator (but better to have also glue layer):
 |  |
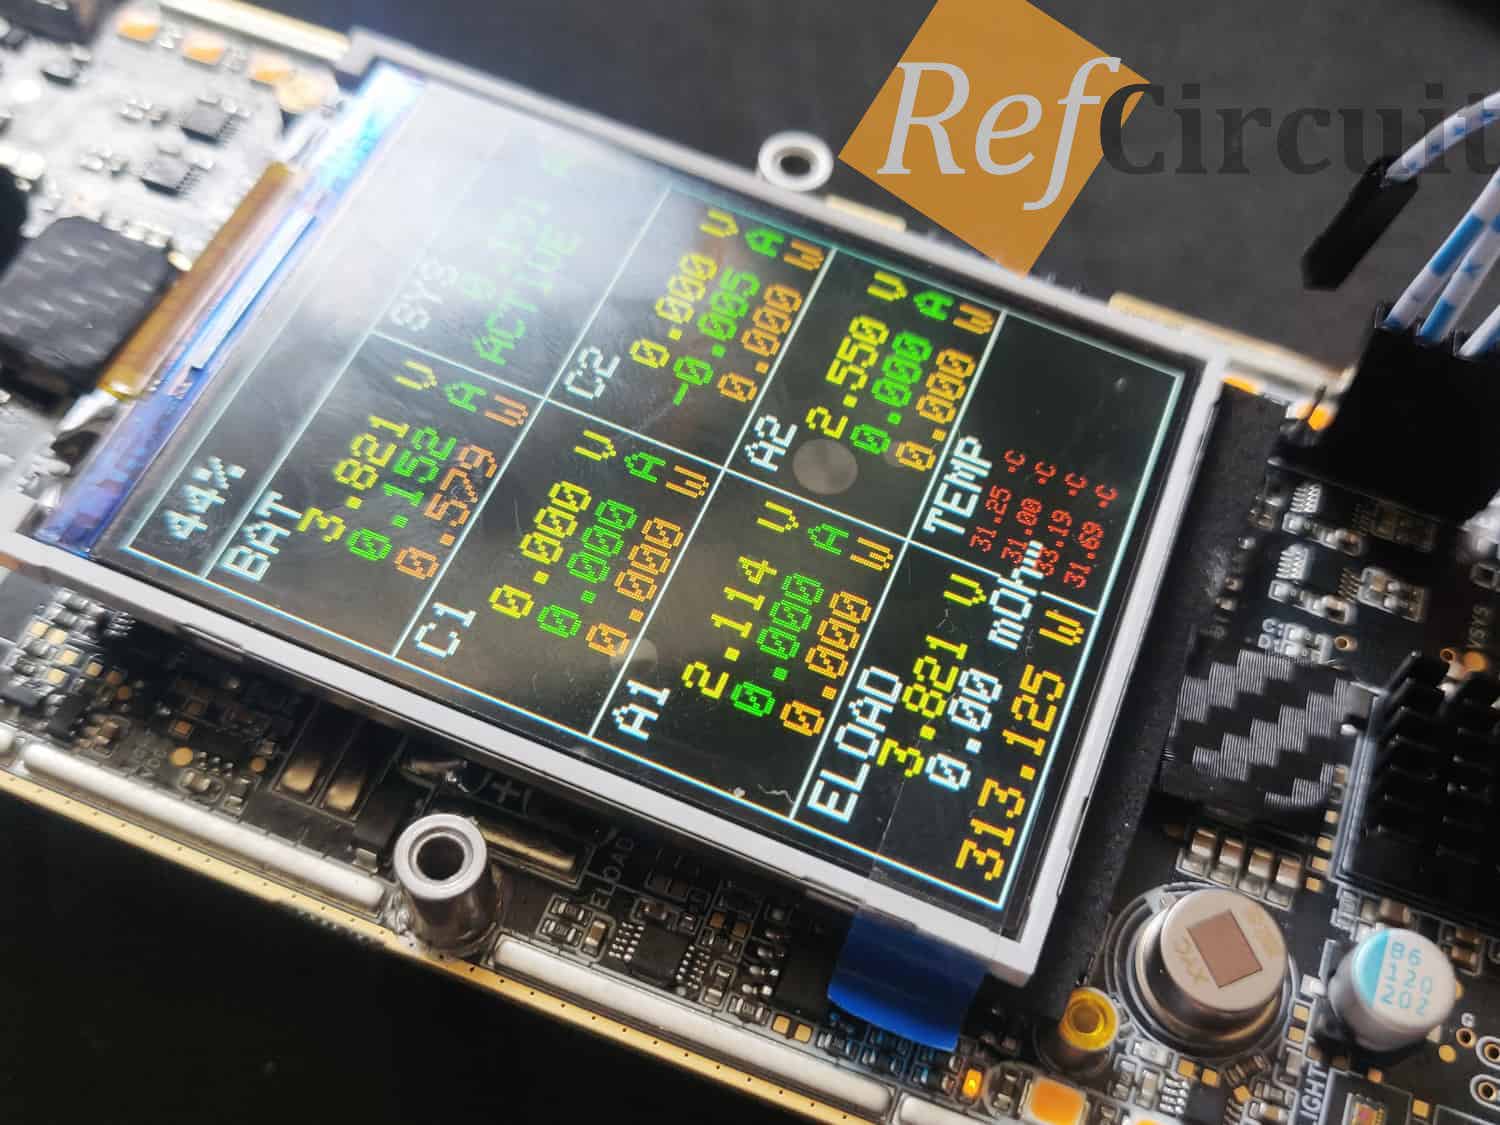
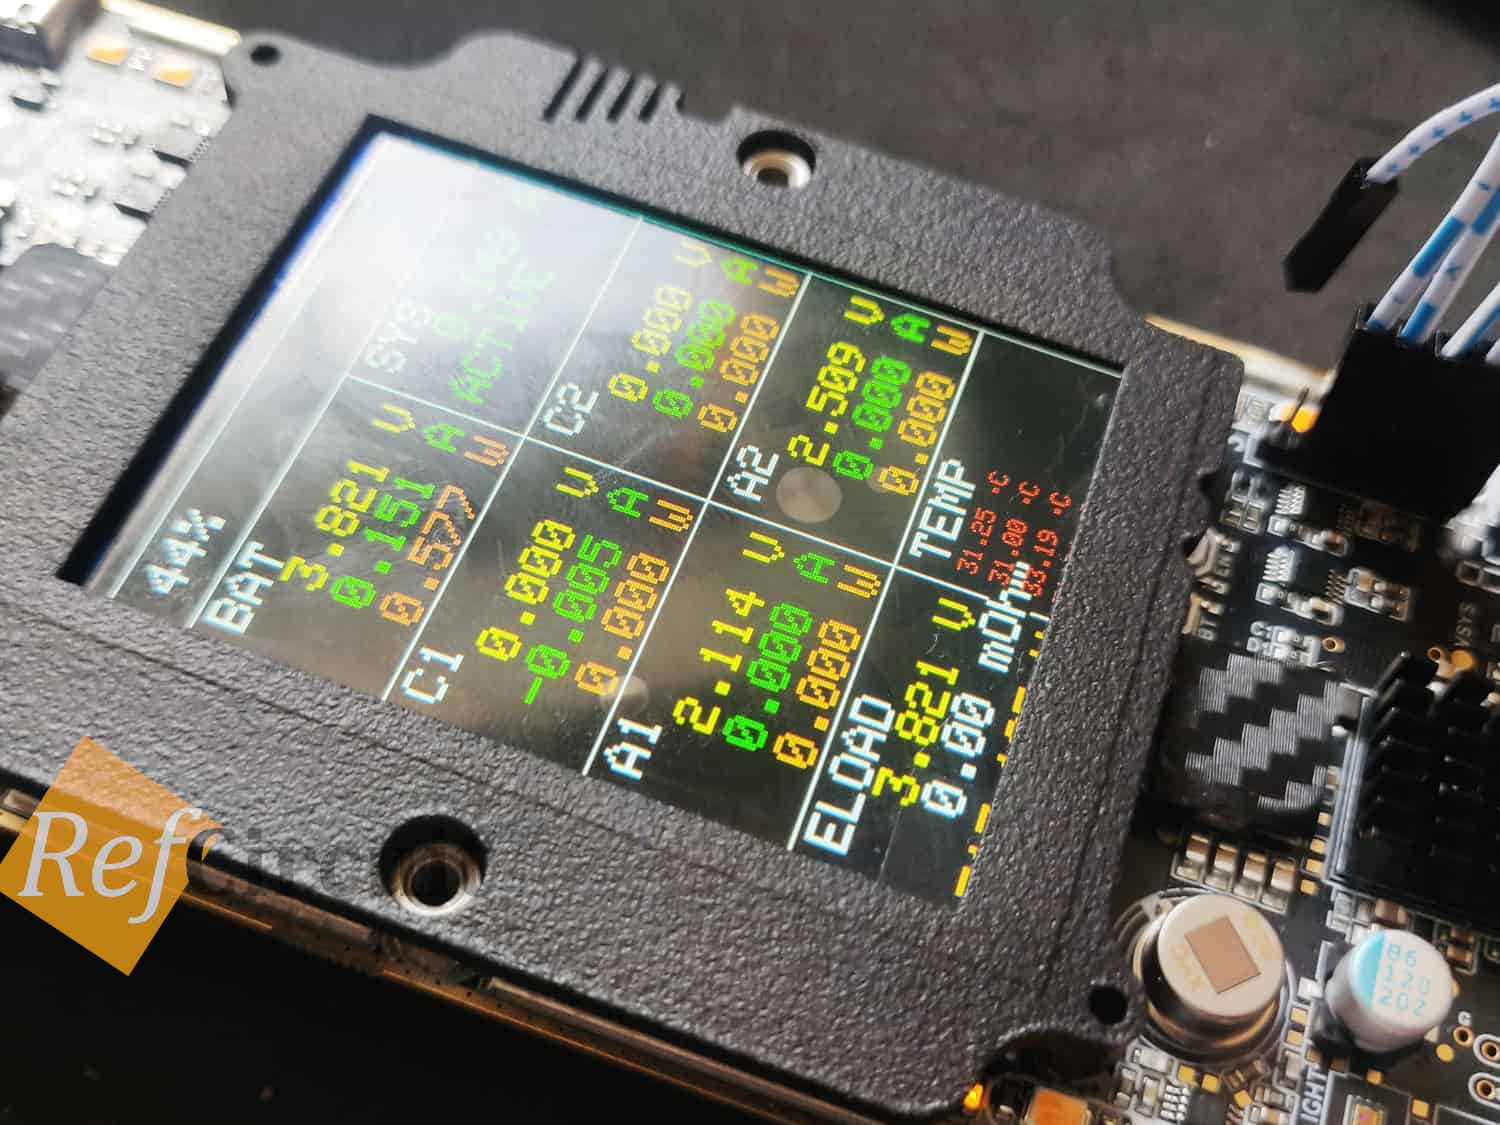
After that the display inserted into plastic bracket:
 |  |
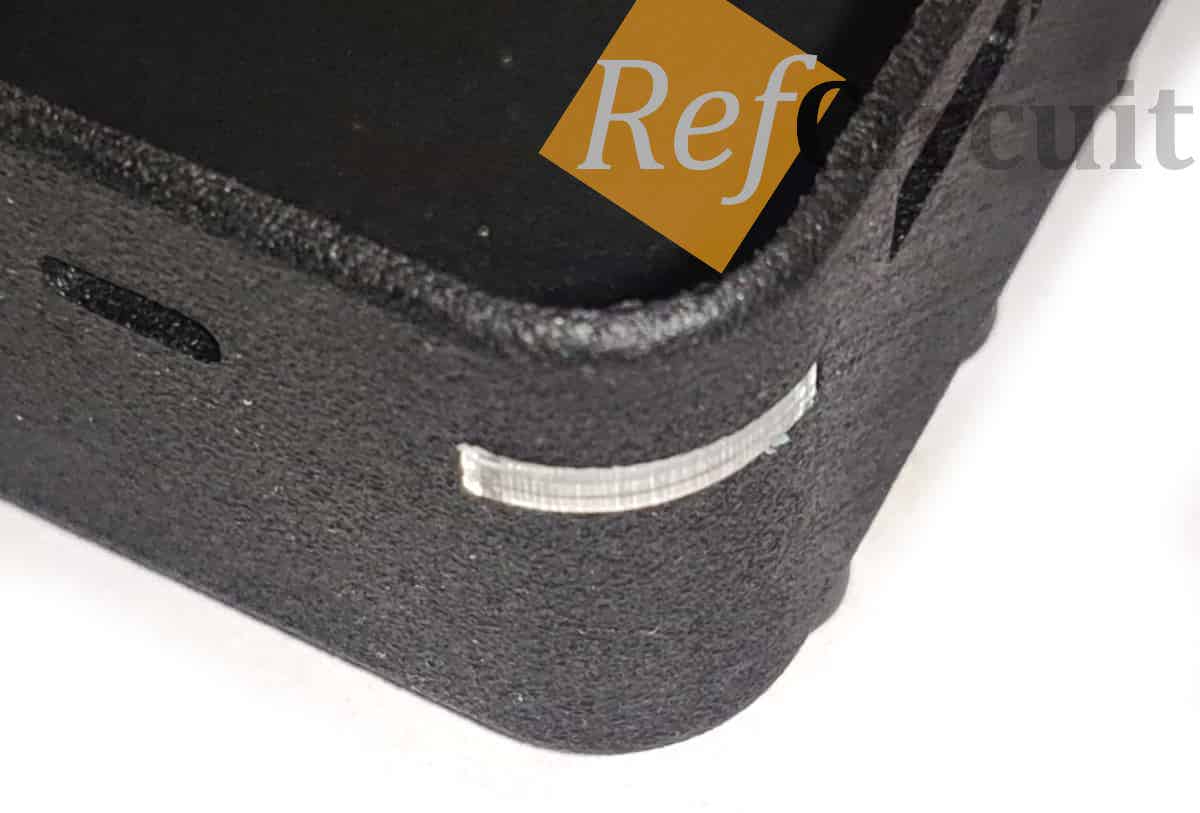
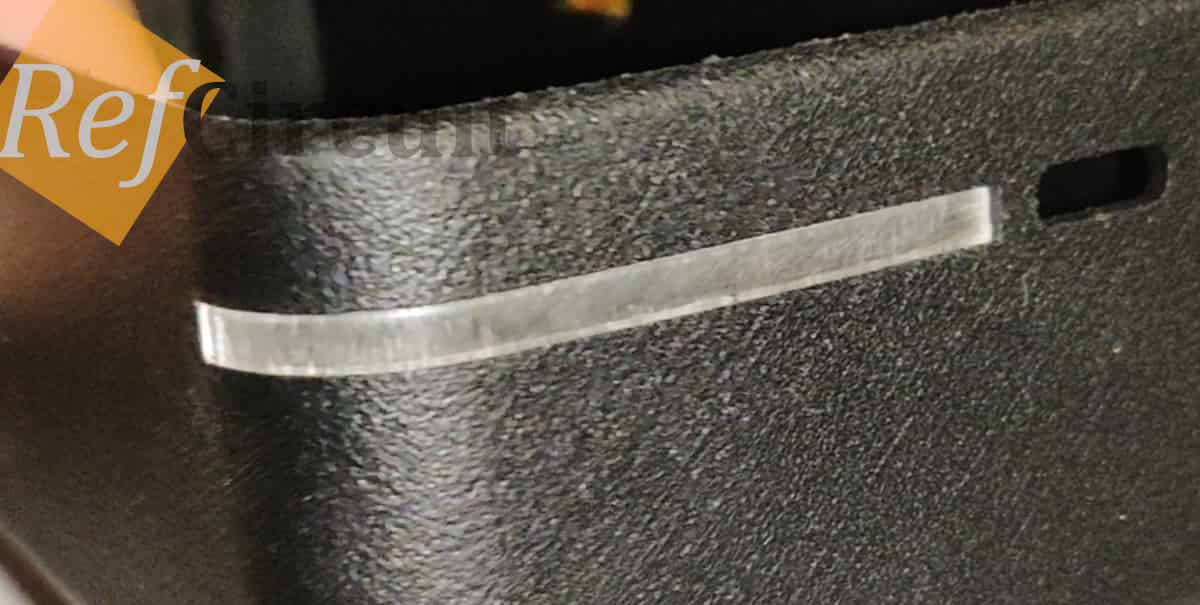
5 Diffusers
Since diffusers are made from transparent acrylic I additionally process them by sandpaper to make it matte, but in future I'll just order non-transparent acrylic.
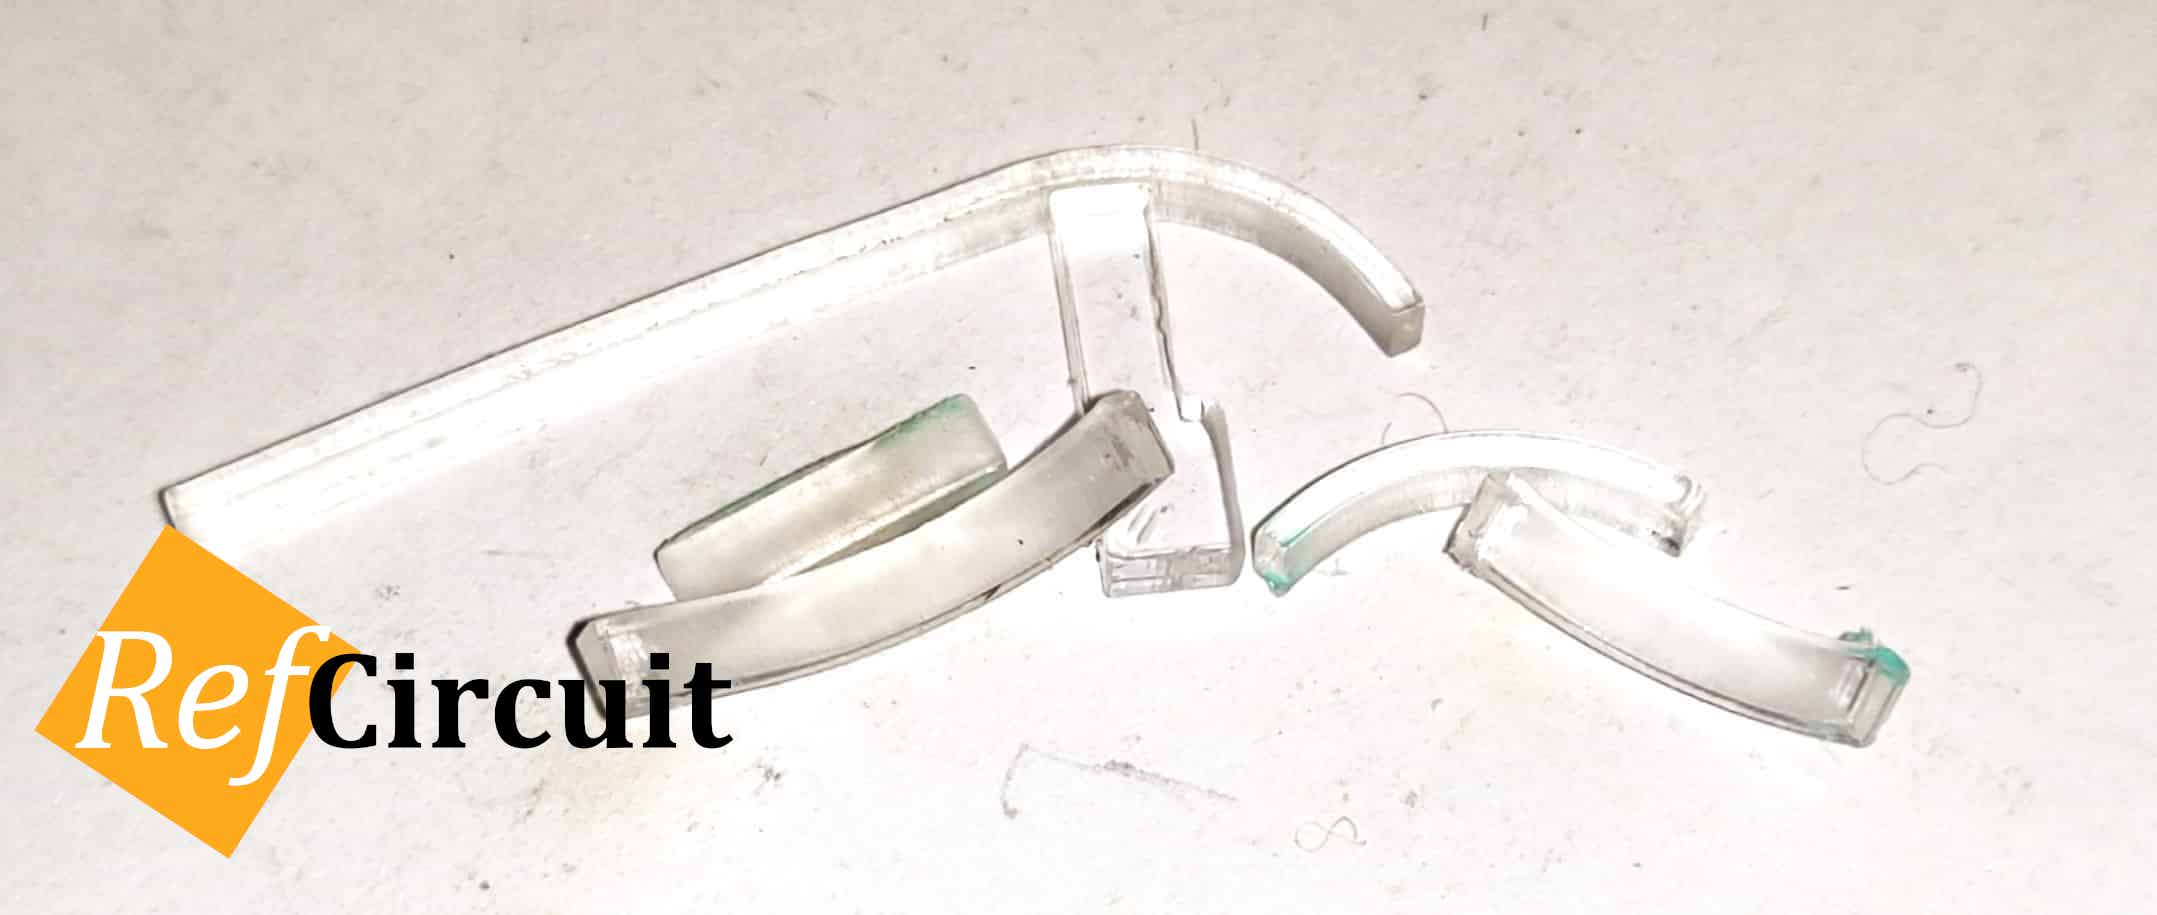
Insertion is pretty easy and the result looks fine:
 |  |
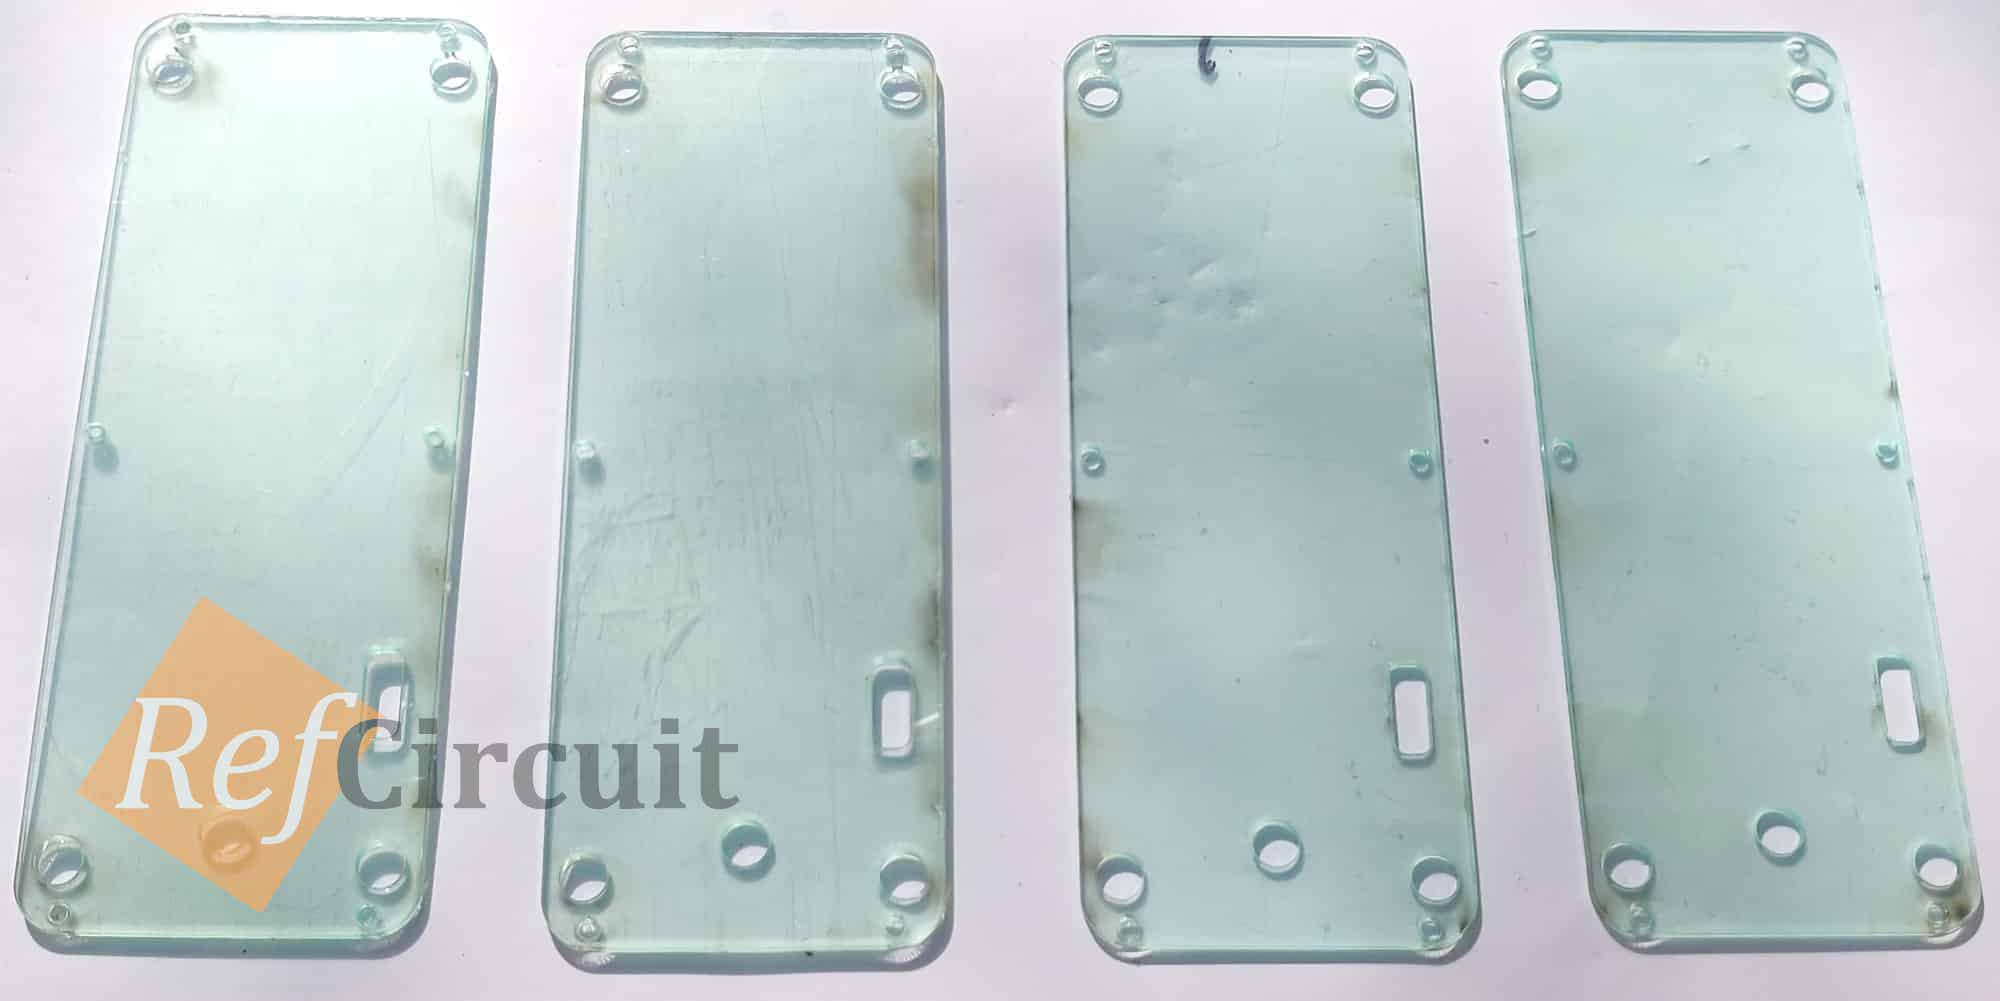
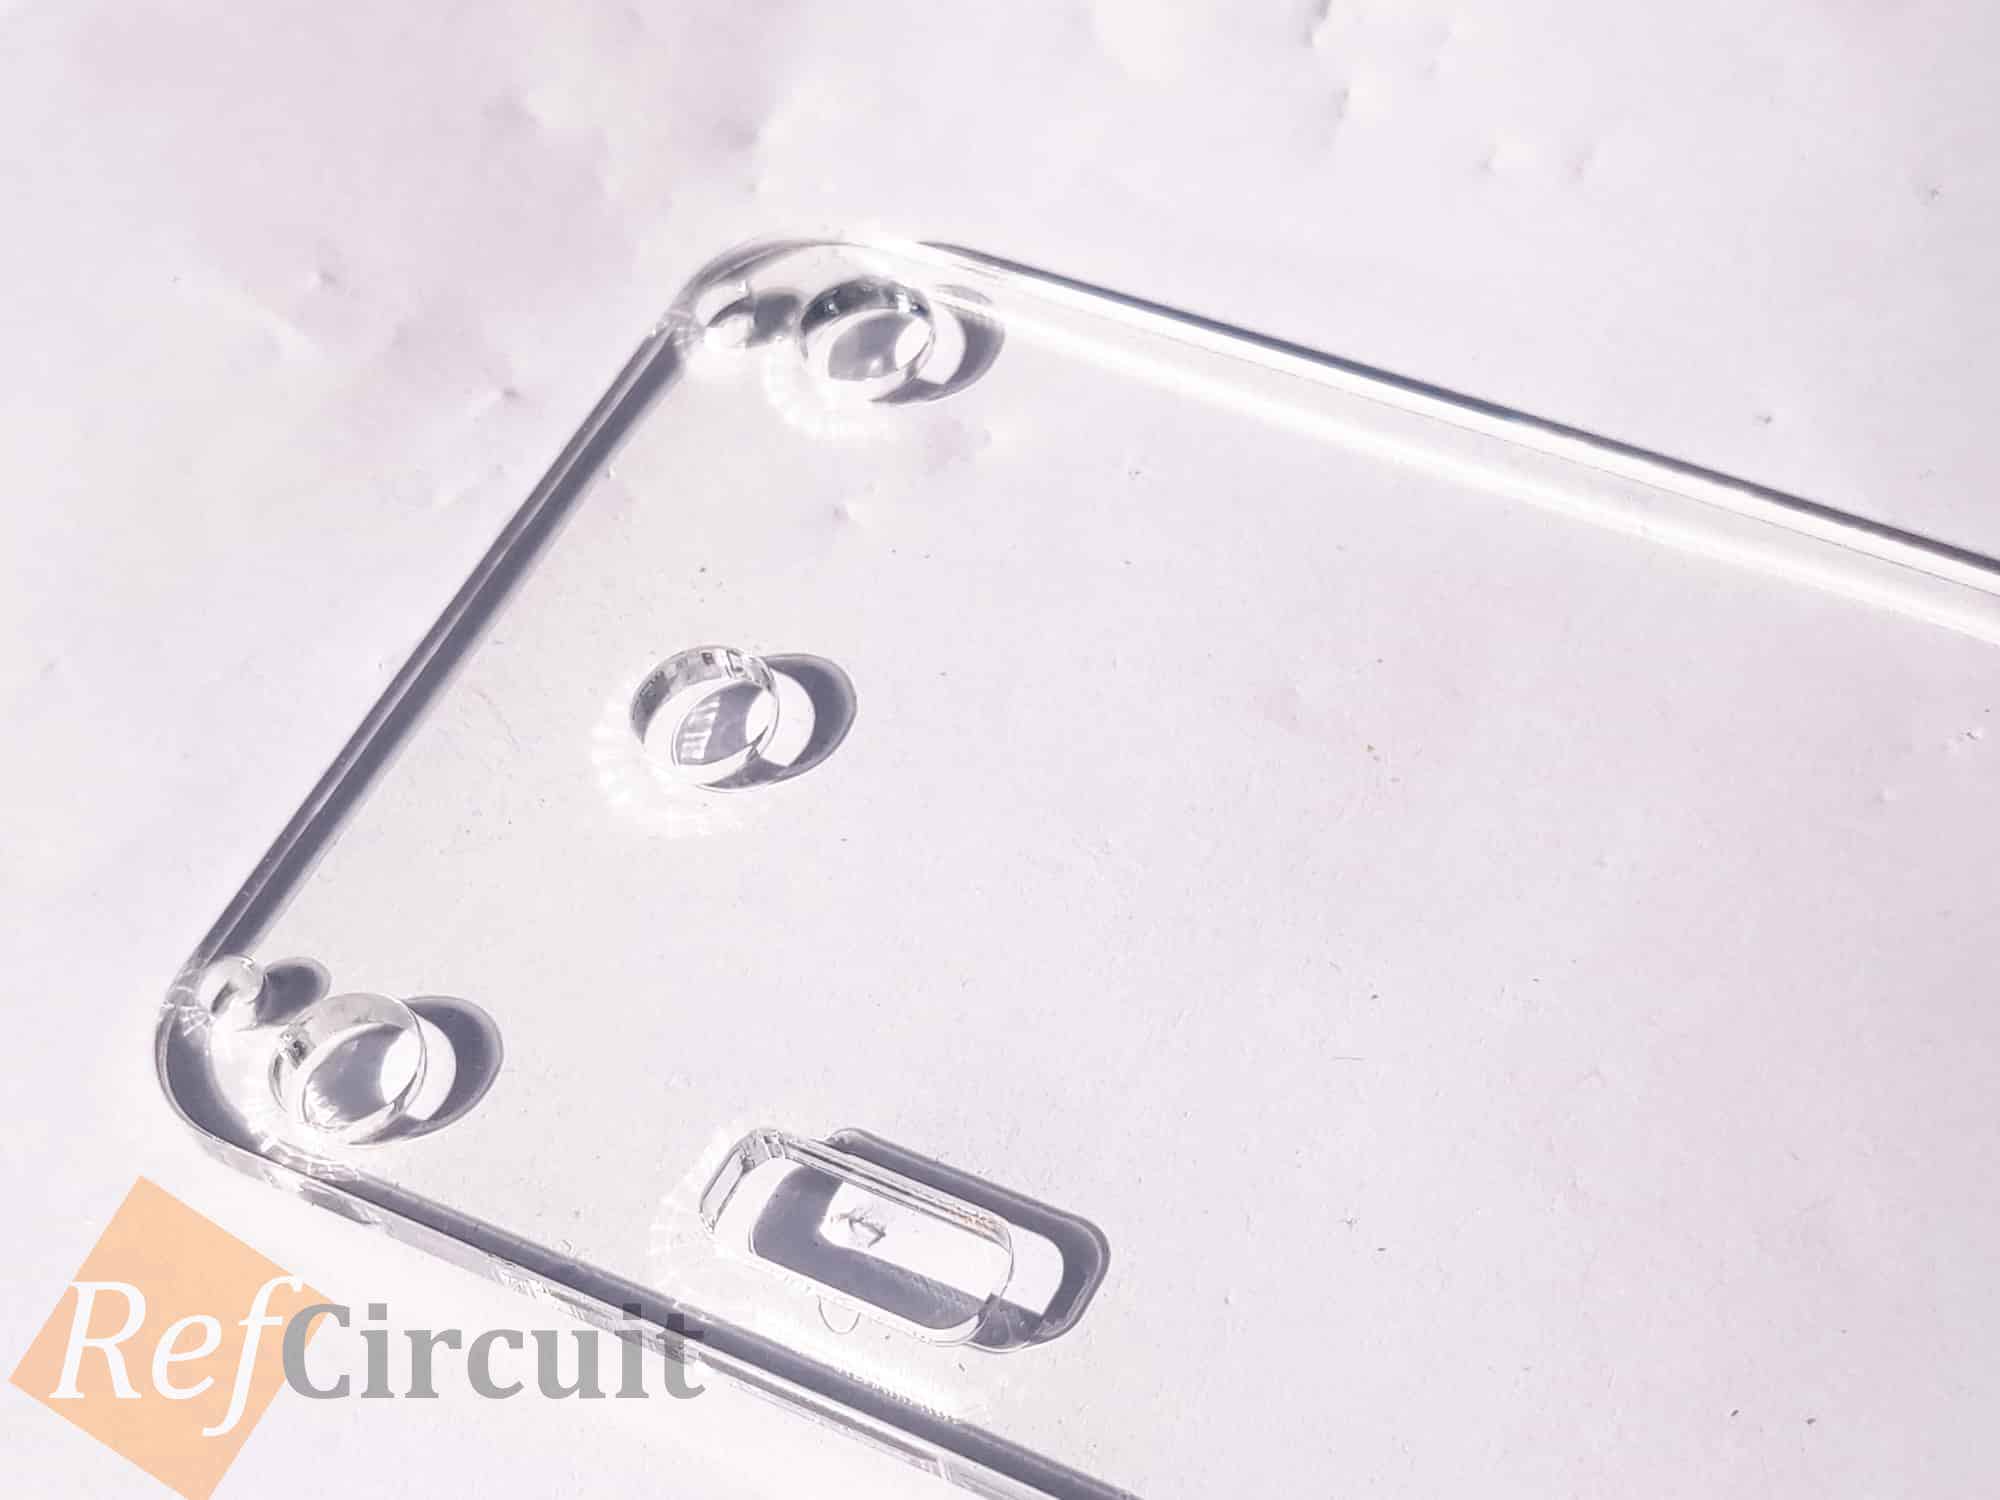
6 Top Cover
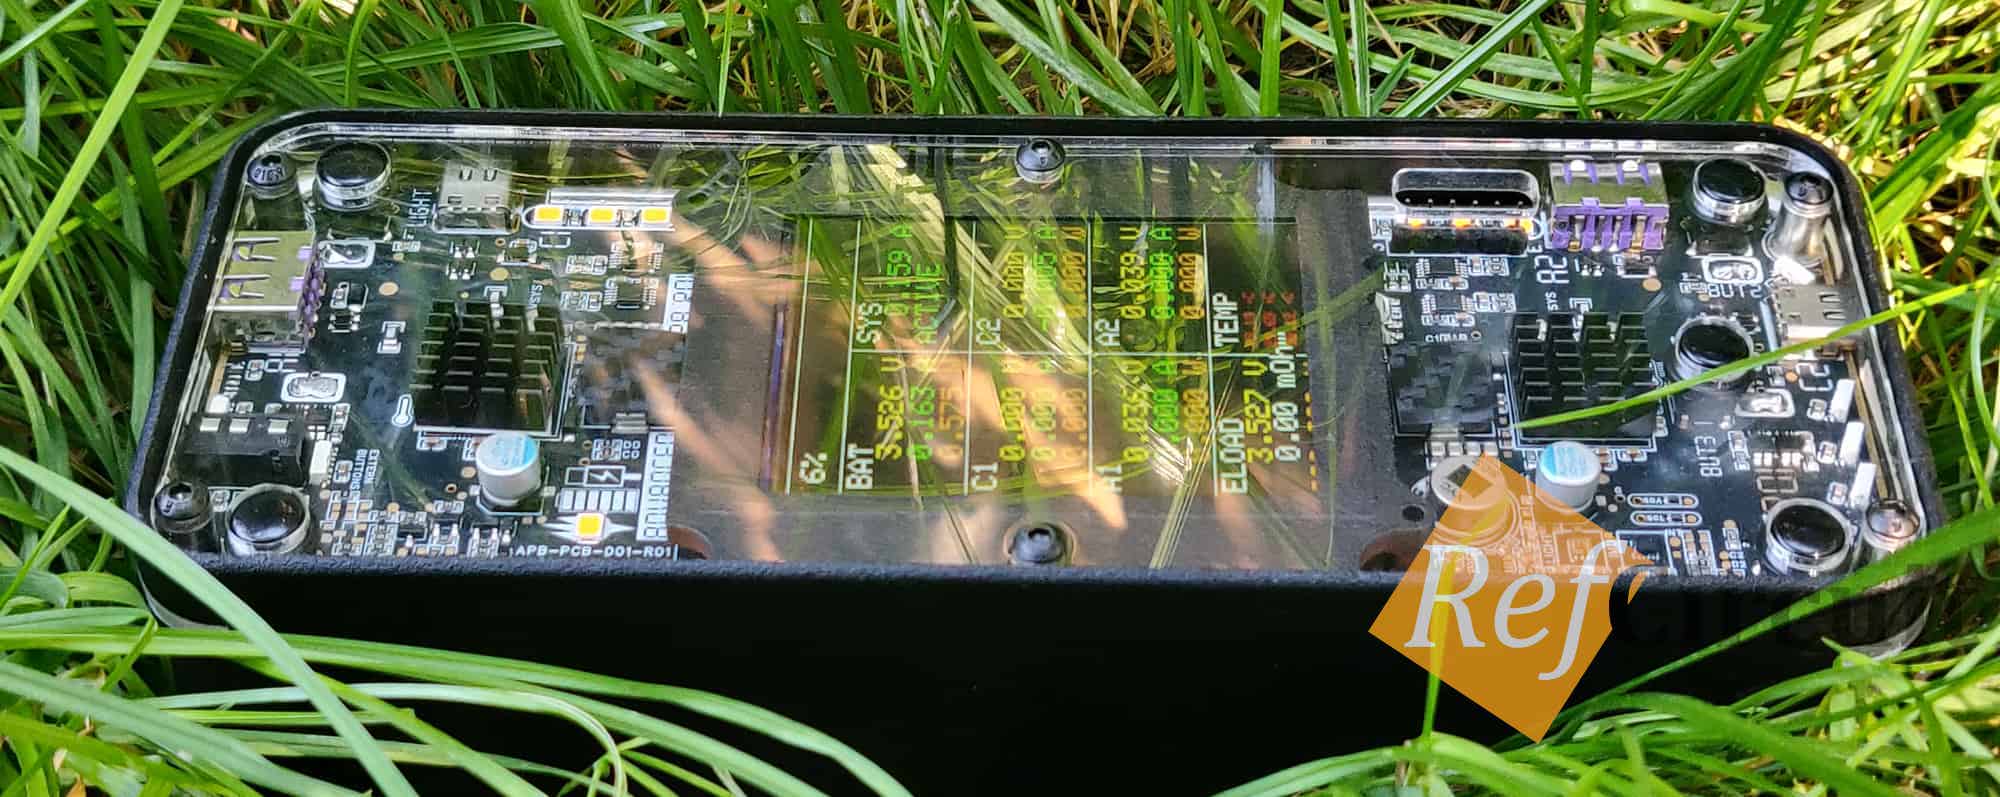
Install plastic caps (5 PCS) SC109AA1 onto the button on the board and place top acrylic cover according to the holes:
 |  |
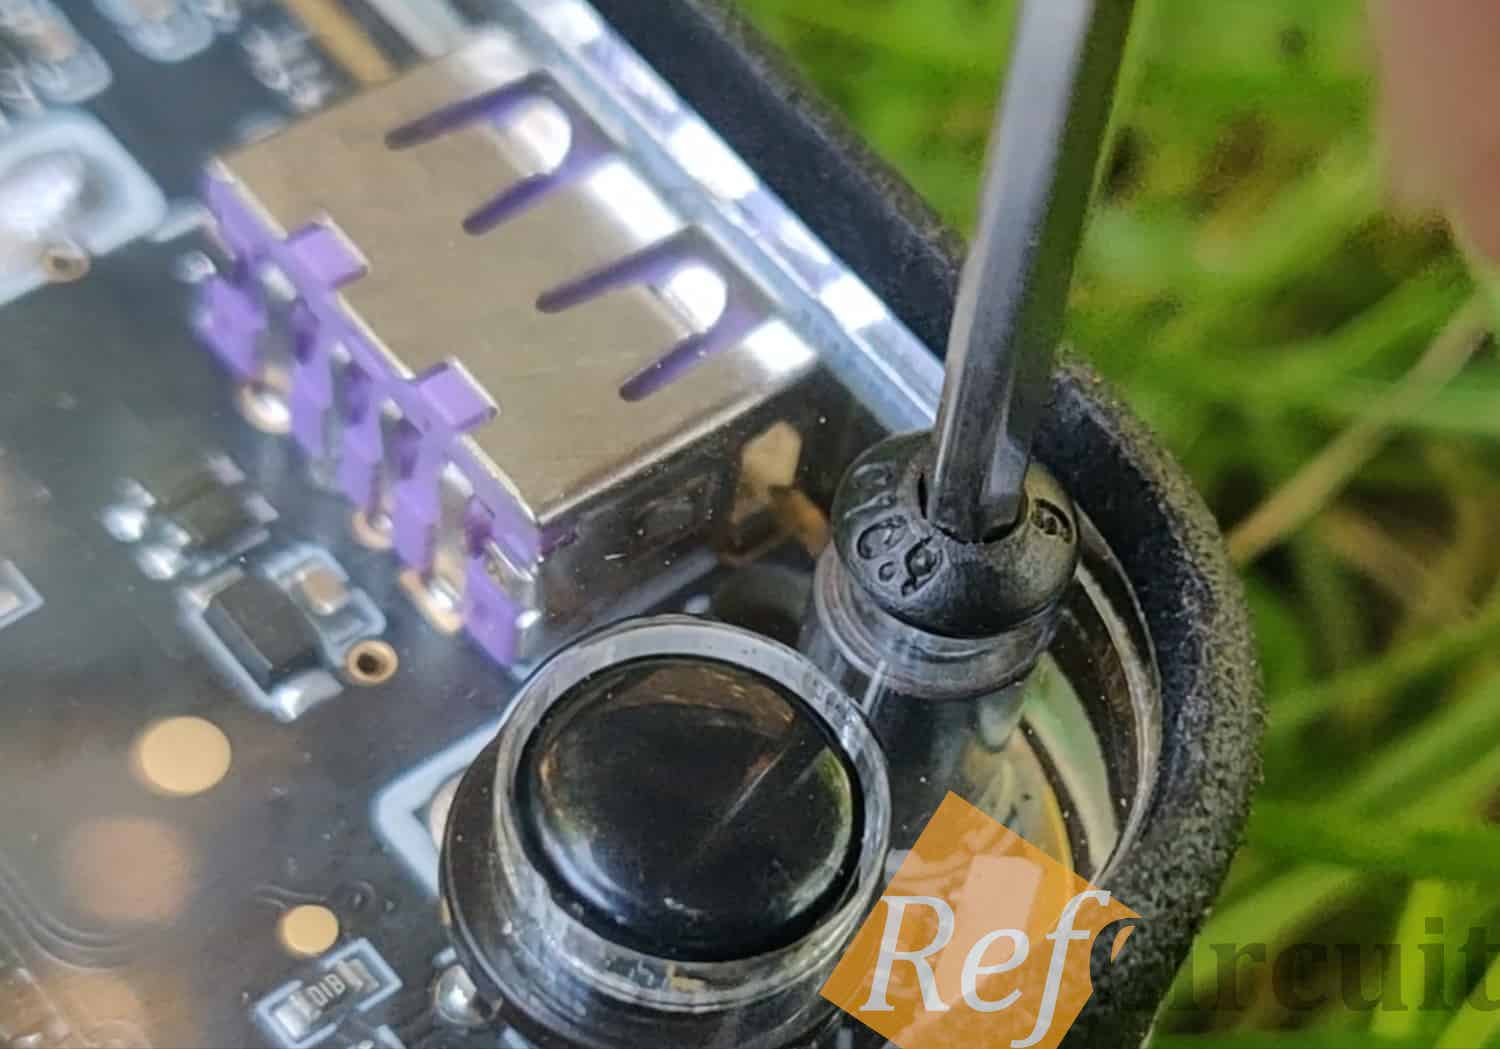
Screw cover using four long screws (M3x) and two short (M3x), it could be stainless steel or black.
 |  |
I tried also 2mm top cover and it also works fine due to several support points (nuts + heatsink), but 3mm still better in case of direct blow.
- Part number: EDLG-S1-M3-L10
- Part number: EDLG-S1-M3-L16
7 Perimeter
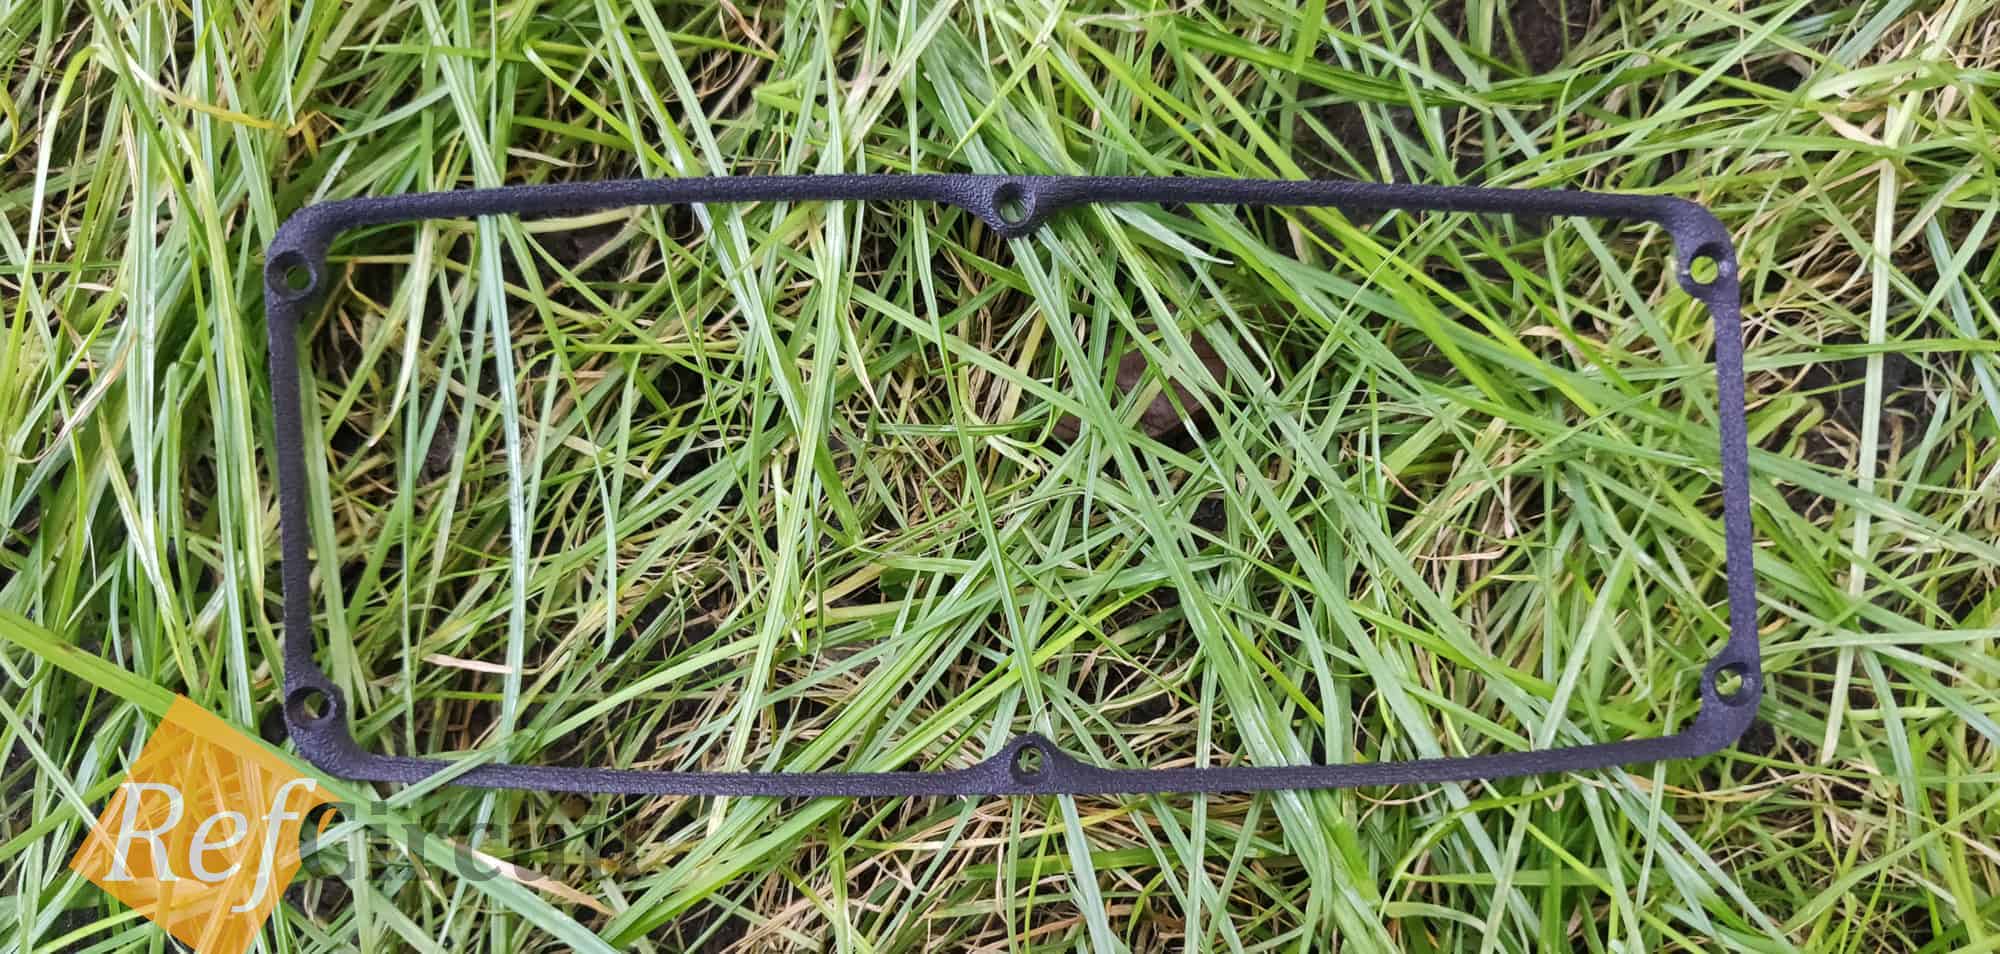
I decided to not use this part because Nylon not appropriate for such think and long detail.
 | 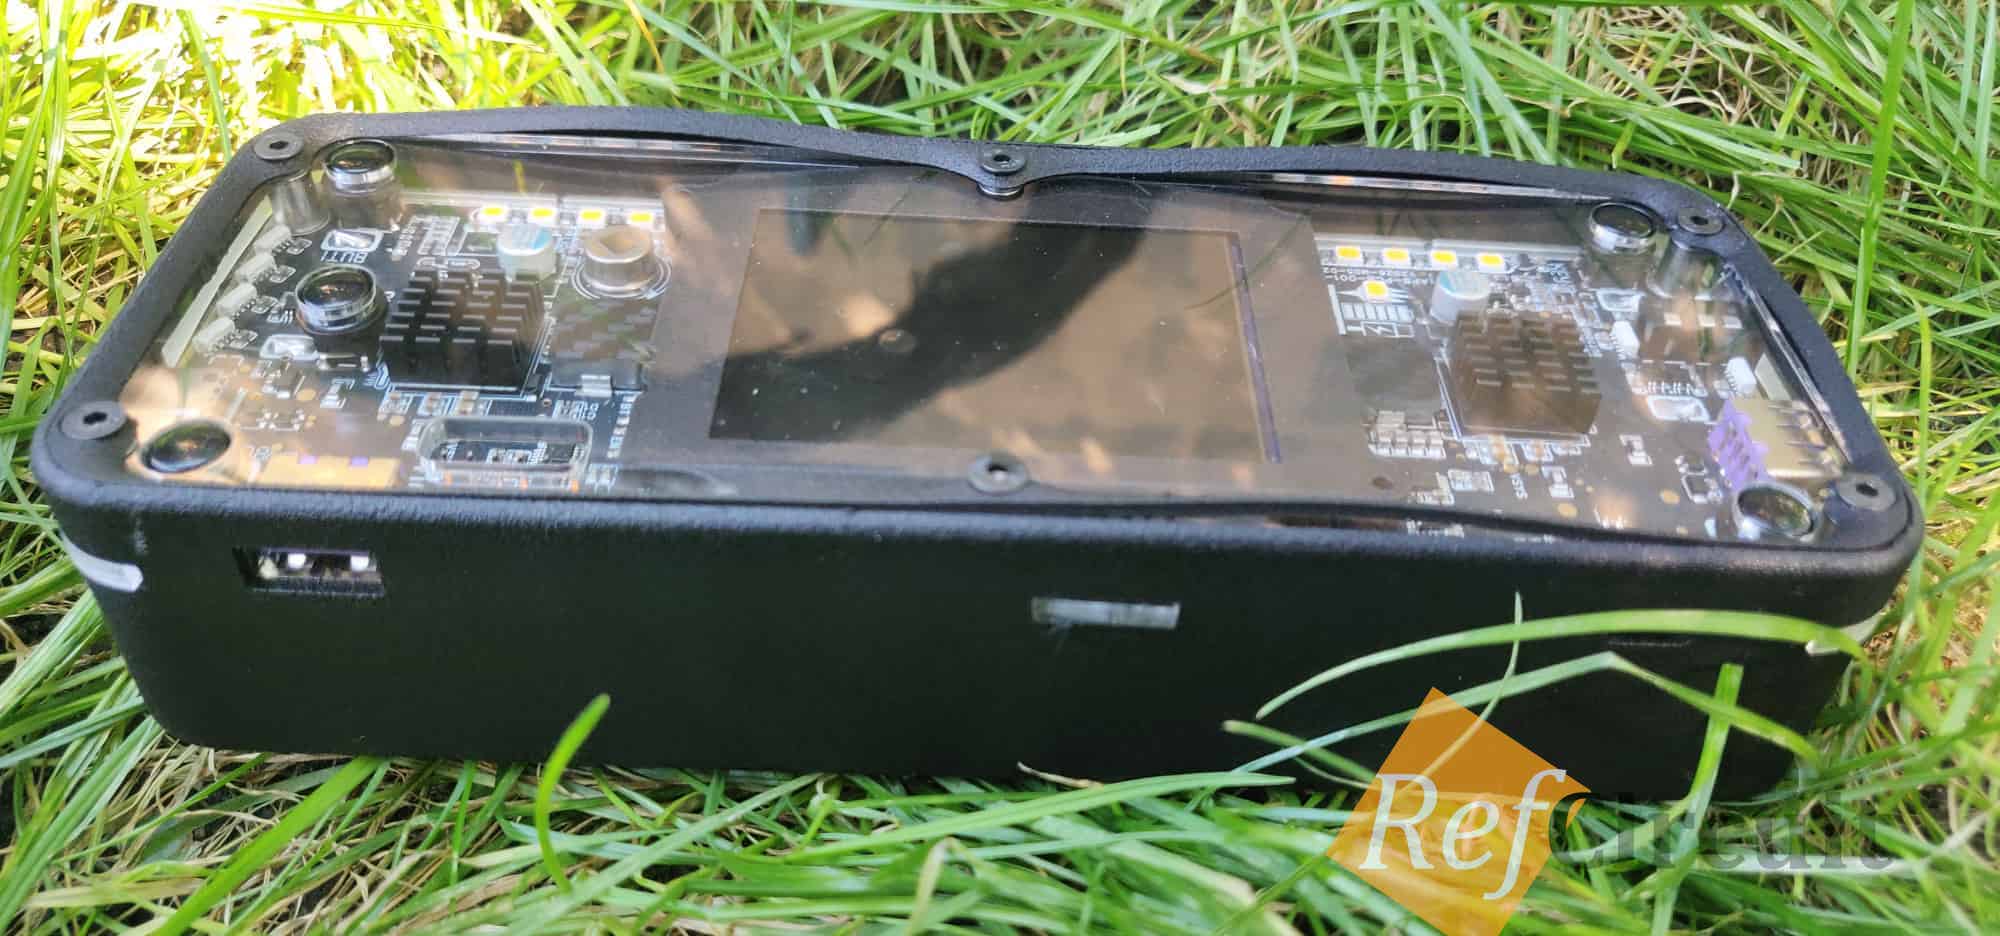 |
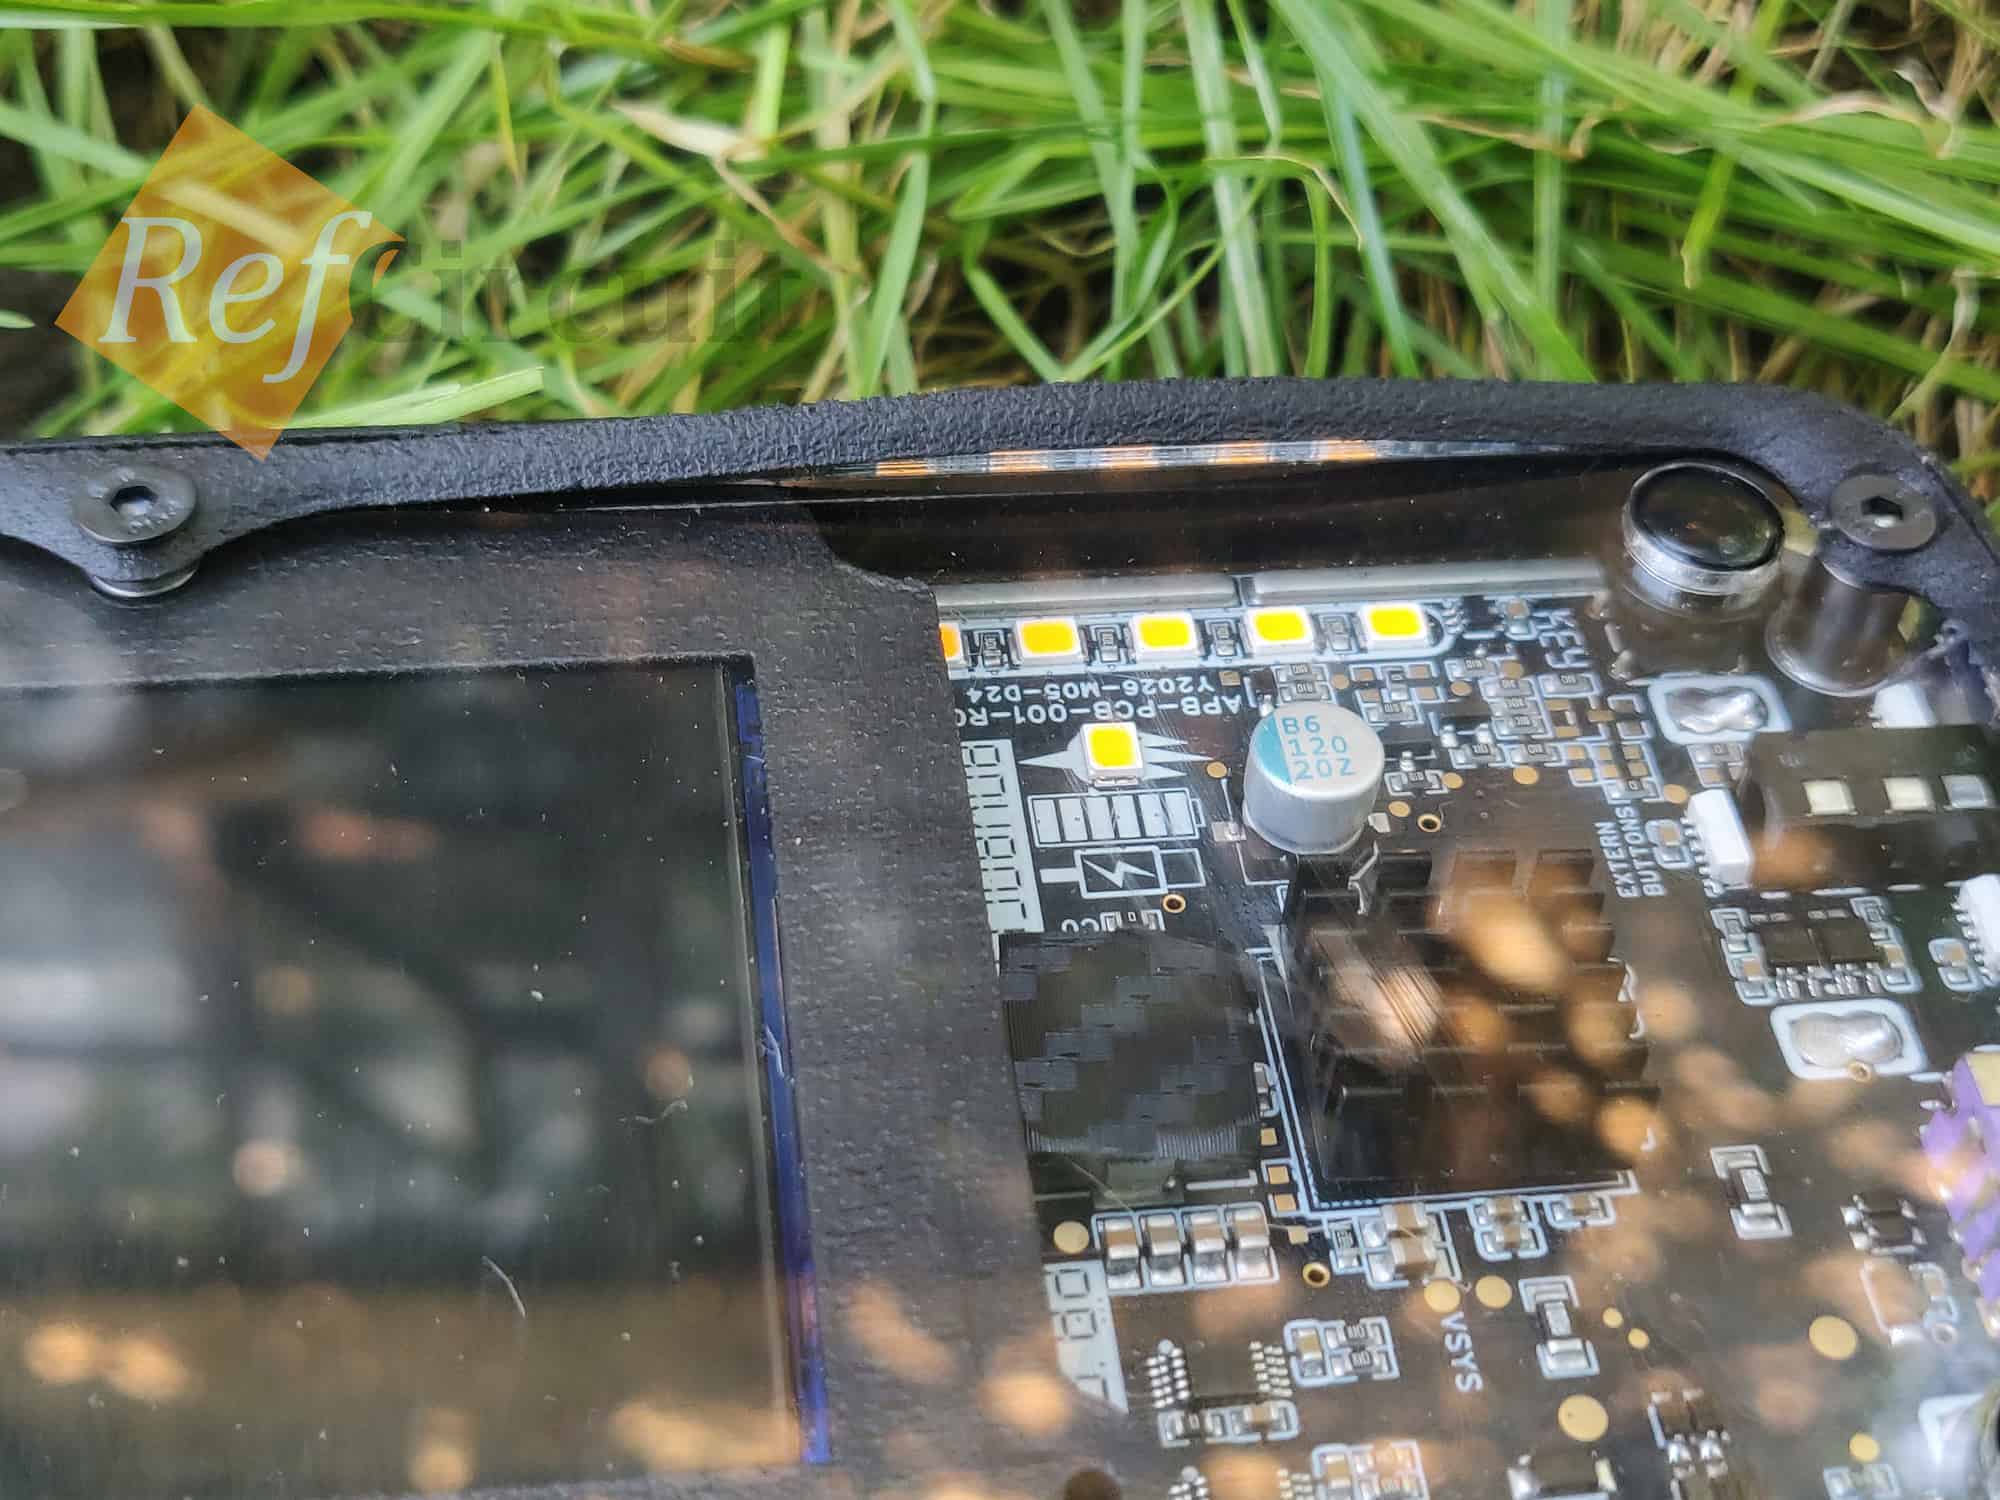
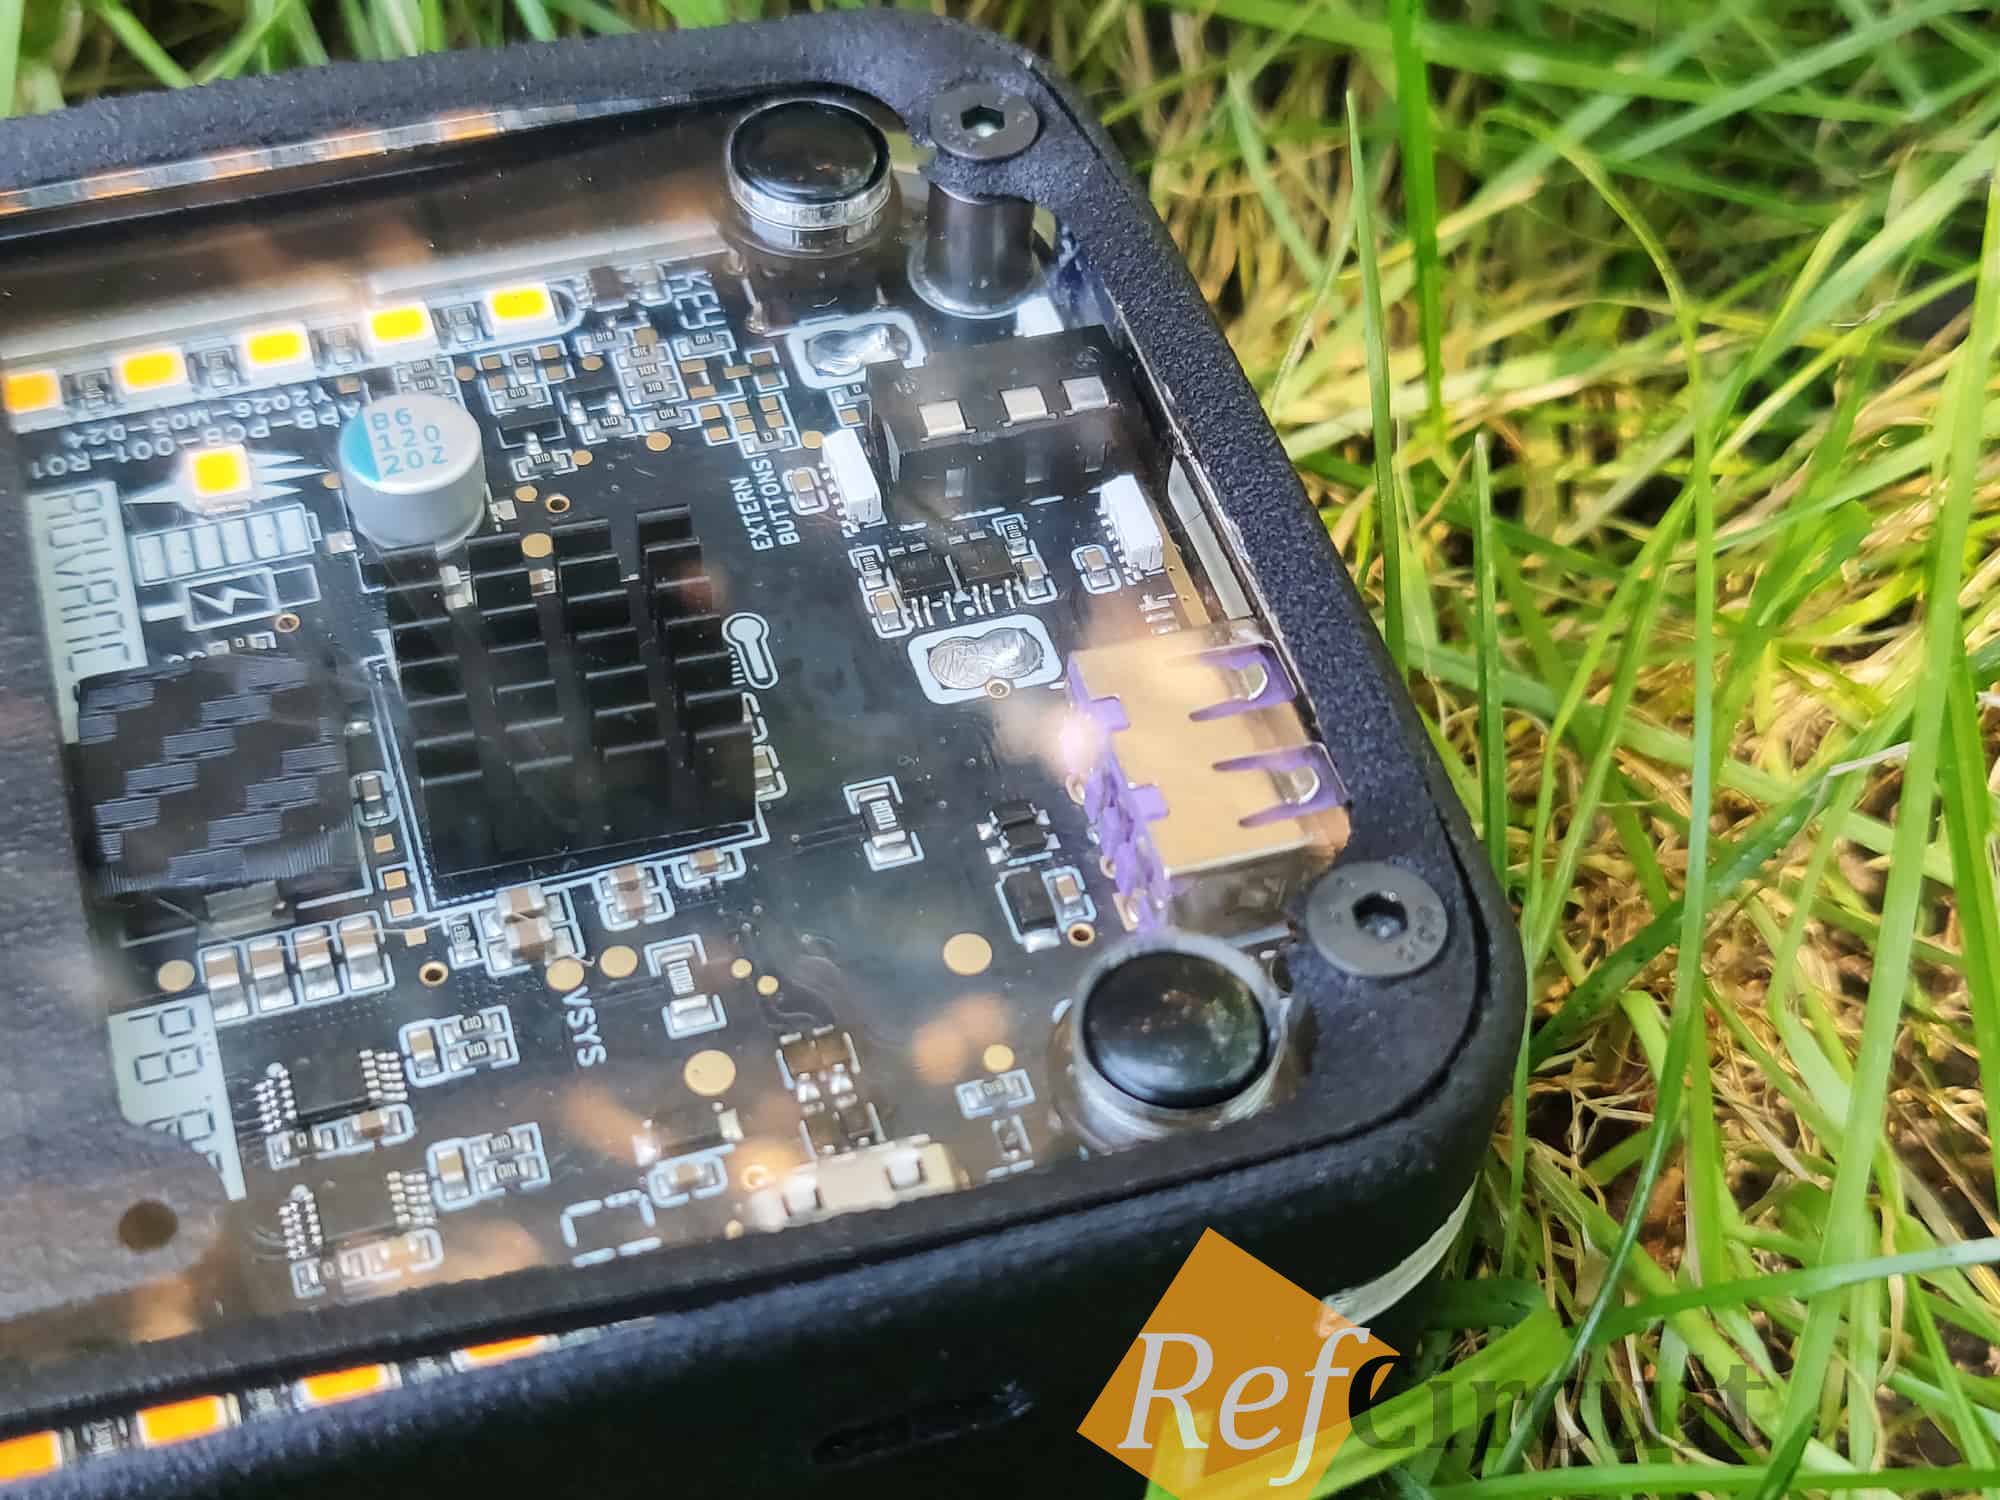
But here is an example of installation using two screws M3x and M3x.
 |  |
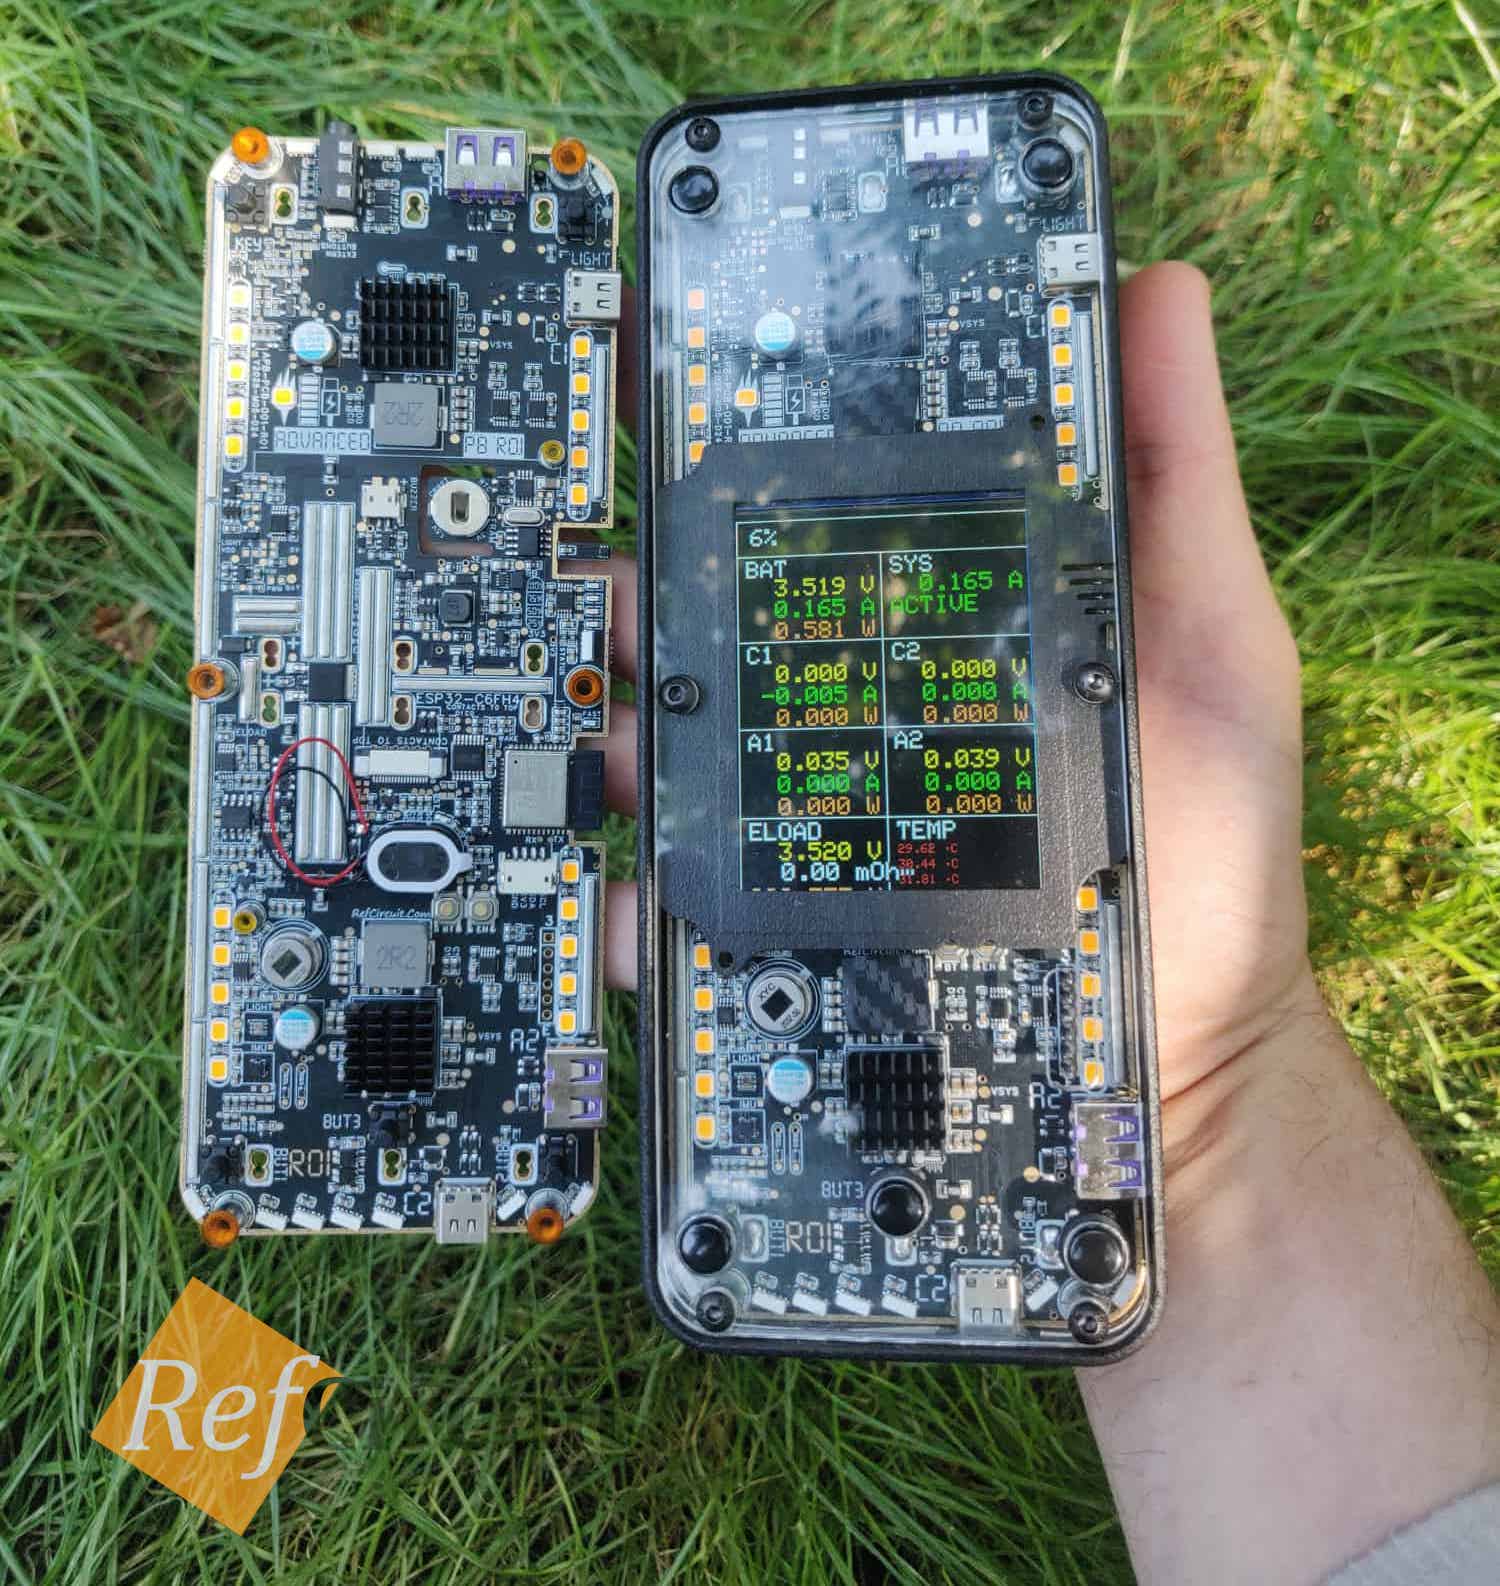
Assembled Device
Additionally
The case has optional bottom handler for bike/bagpack.